RC-Baustelle.de (http://www.rc-baustelle.de/index.php)
- Modelle (http://www.rc-baustelle.de/board.php?boardid=5)
-- Bagger (http://www.rc-baustelle.de/board.php?boardid=6)
--- [1:12] Hitachi Zaxis 470 LCH 1:12 (http://www.rc-baustelle.de/thread.php?threadid=3077)
Geschrieben von KallleSwe am 31.10.2010 um 00:11:
| Zitat: |
Original von JensR
Very nice!
Is the servo for the quick-change? |
Hmm, do you mean what servo it is in the quick change? If you do its a Power HD-65 i think is called, digital with about 1.5-2.0kg tourqe.
Geschrieben von JensR am 31.10.2010 um 00:19:
Thanks, just wanted to know whether the servo is for the quick-changer - and it is

Geschrieben von JensR am 16.11.2010 um 23:08:
very nice, I like it!!
Good luck with the valve!
Geschrieben von KallleSwe am 02.12.2010 um 23:28:
| Zitat: |
Original von JensR
very nice, I like it!!
Good luck with the valve! |
Everything worked out great, thanks!
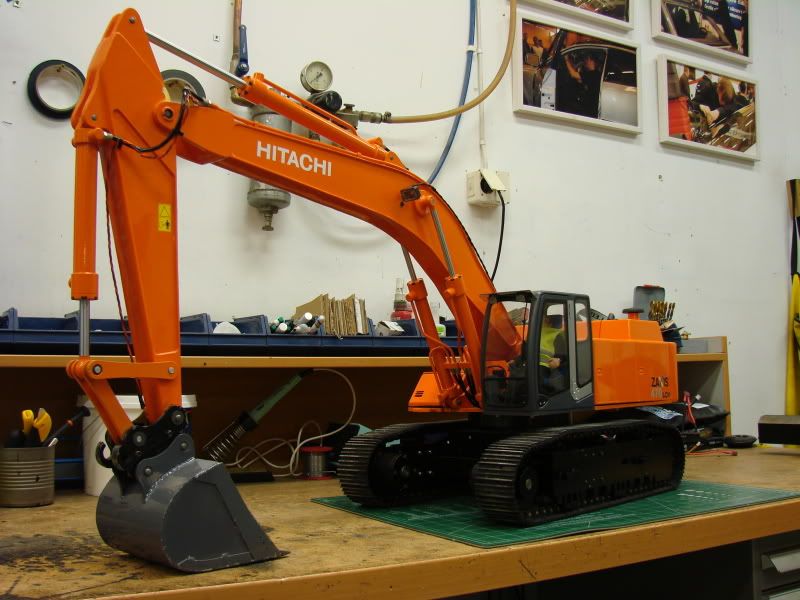
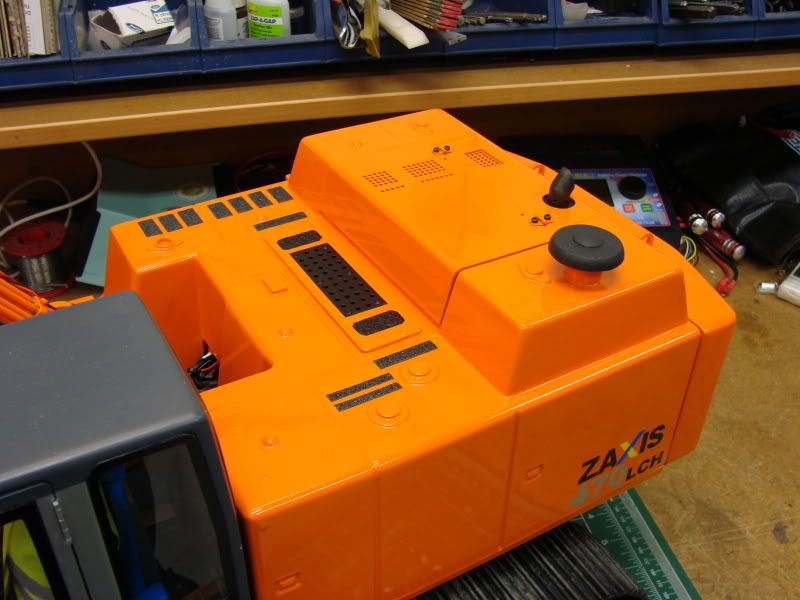
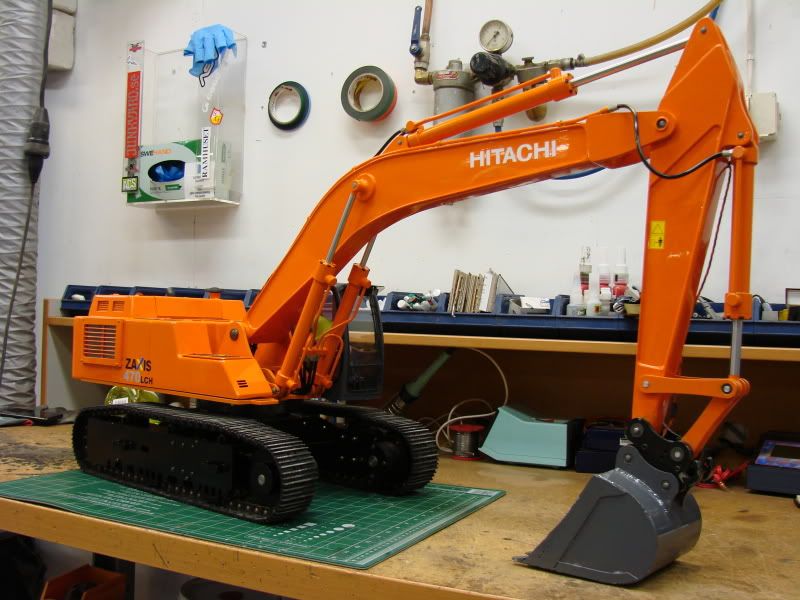
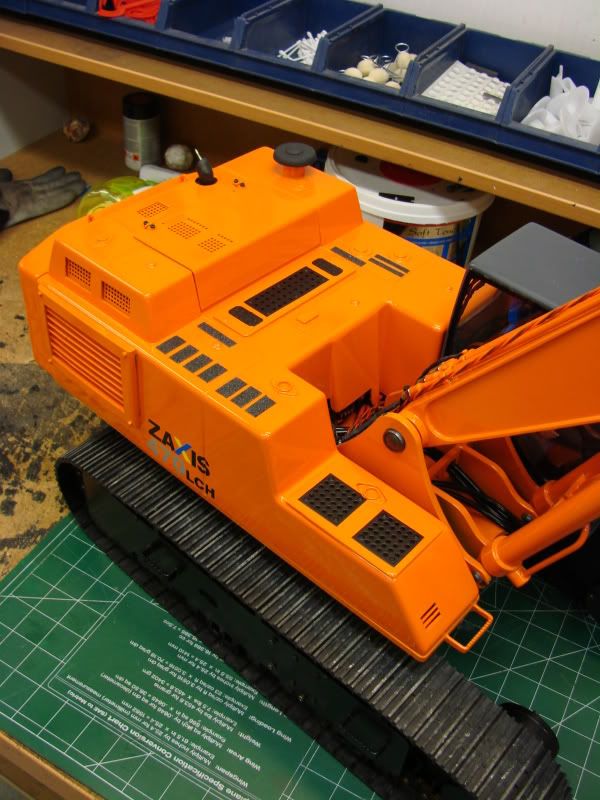
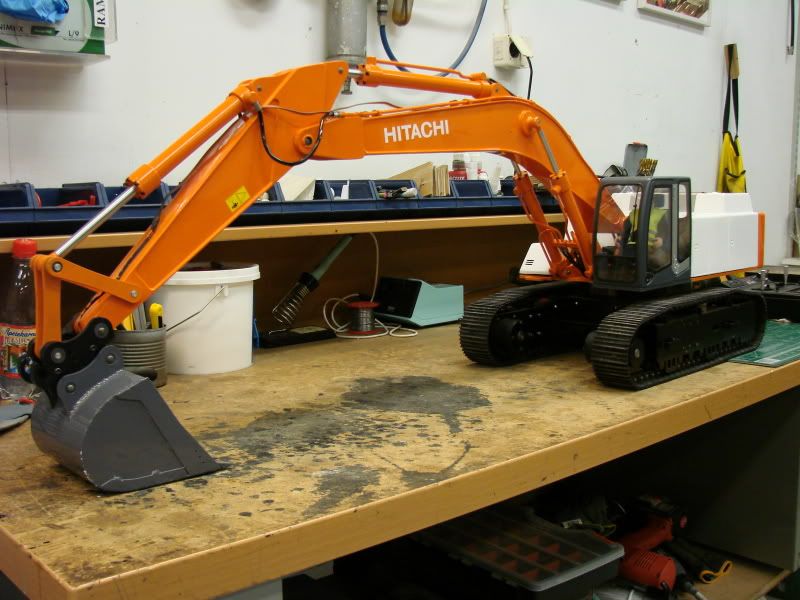
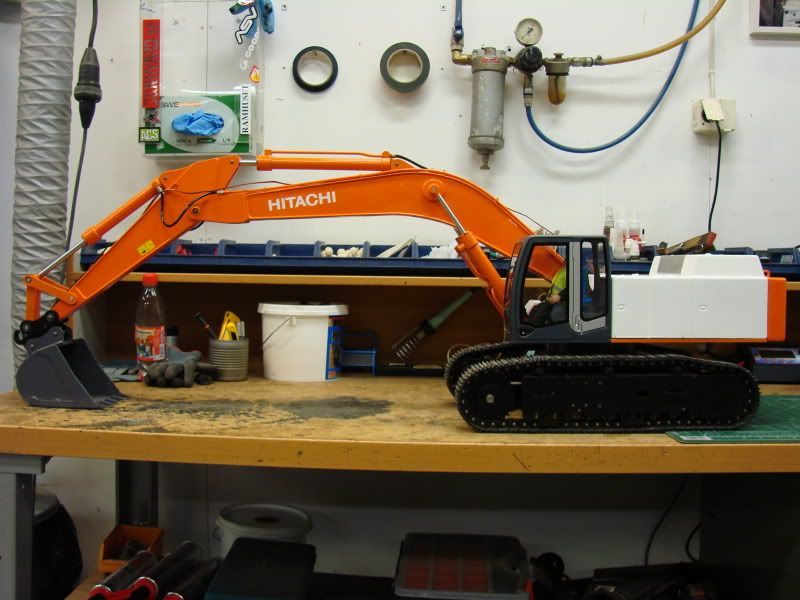
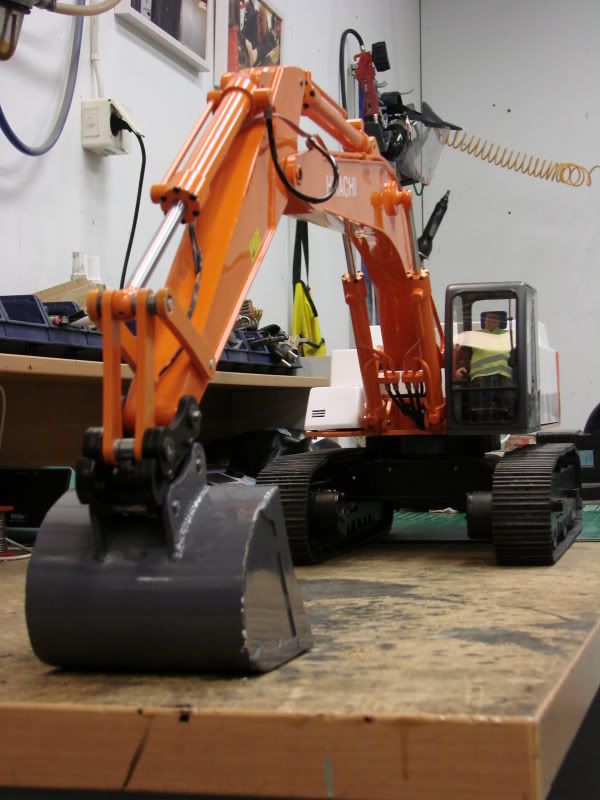
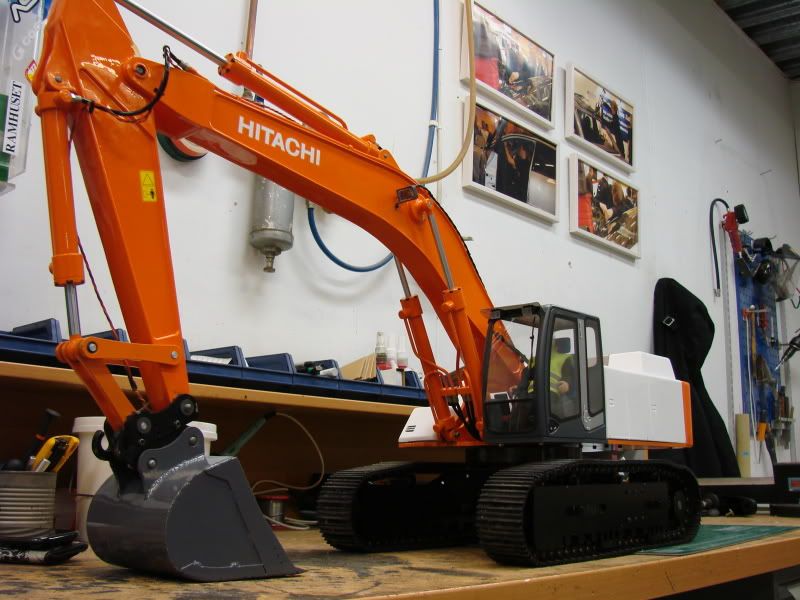
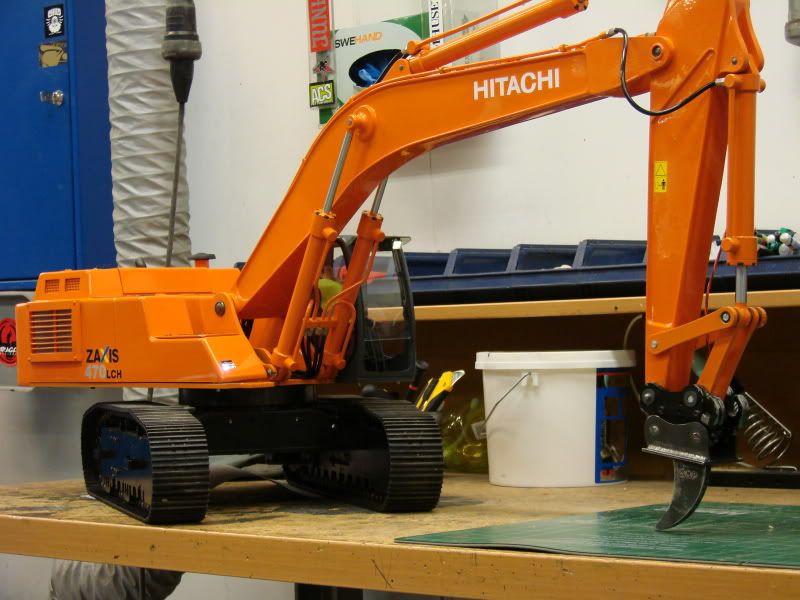
Alright everyone, the 470 is finally up and running!
I got the last things mounted and plumed up so i filled up the tank with oil and everything worked like a charm!
The quick coupler worked great, just very hard to line up the coupler to the bucket!
I will fill the counterweight with ledballs and sand, approx. 3.5kg, i felt it was a little to tippy with the boom and stick all out with a little weight in the bucket standing sideways.
Overall it worked great and this will be much fun as the spring returns!
Now im going to finish the main body with all the details, after that tear down the stick/boom/bucket and send it for paint!
Here is a little video filmed with my Galaxy S cell phone.
First run video
Geschrieben von JensR am 03.12.2010 um 00:57:
Very nice!
I think either your motor for the rotation is too quick or your speed controller is too coarse or both: You had a lot of problems to adjust the position the boom for the quick coupler.
Geschrieben von KallleSwe am 03.12.2010 um 07:02:
[quote]
Original von JensR
Very nice!
I think either your motor for the rotation is too quick or your speed controller is too coarse or both: You had a lot of problems to adjust the position the boom for the quick coupler.[/quote
Thanks!
Yea i know its a cheapo esc i have for the swing, its very unsmooth, i will probably replace it to a better one, it gets very hot as well.]
Geschrieben von KallleSwe am 22.12.2010 um 21:52:
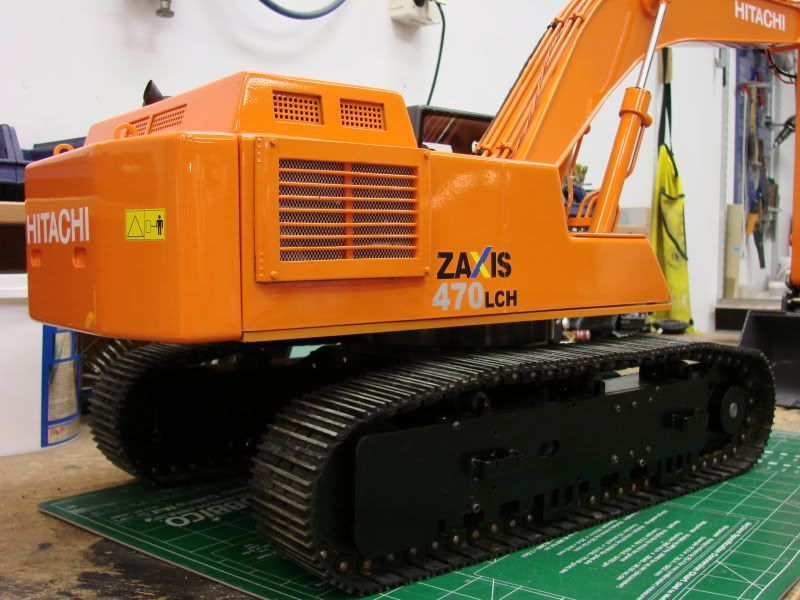
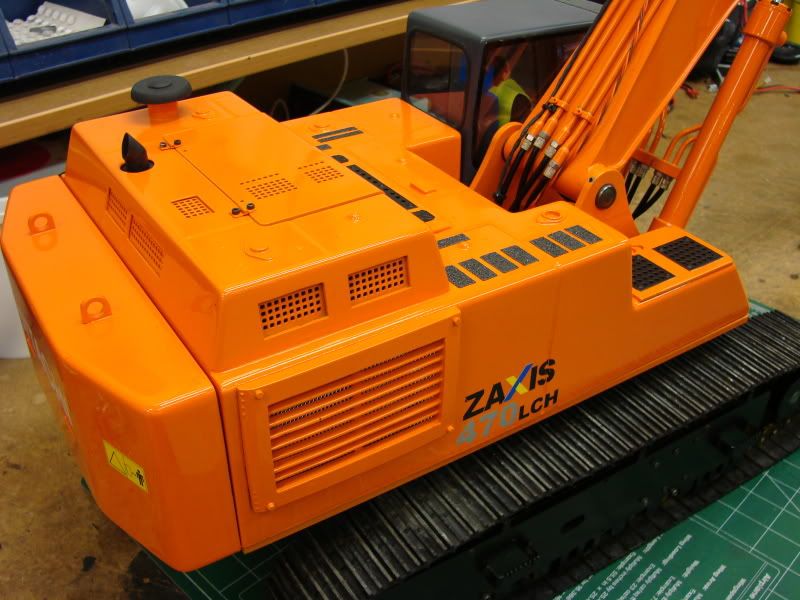
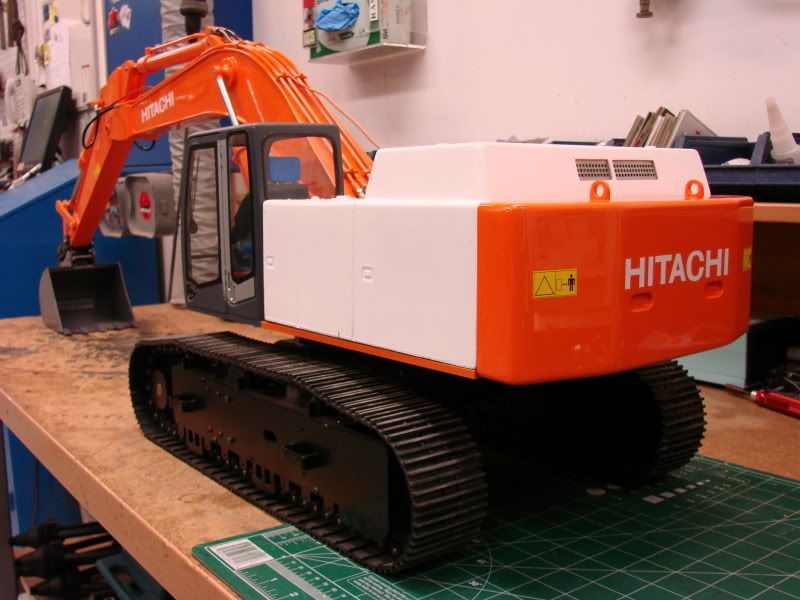
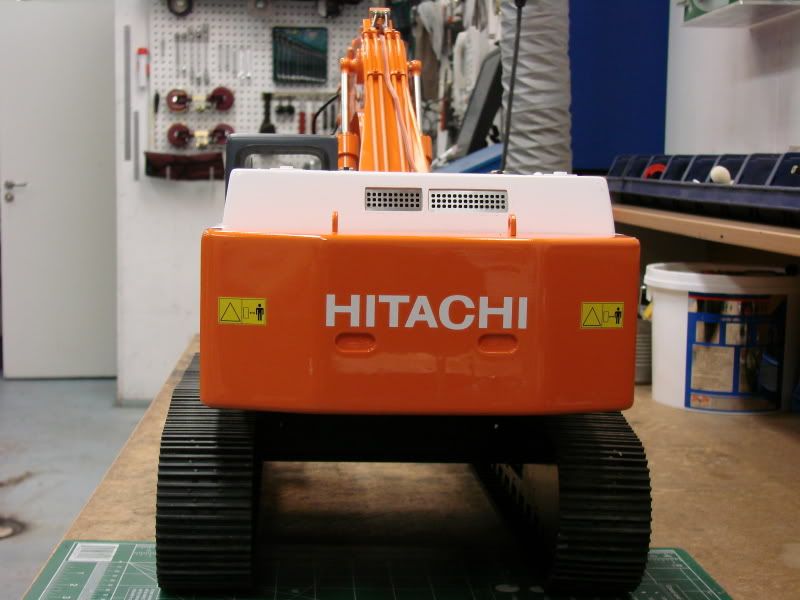
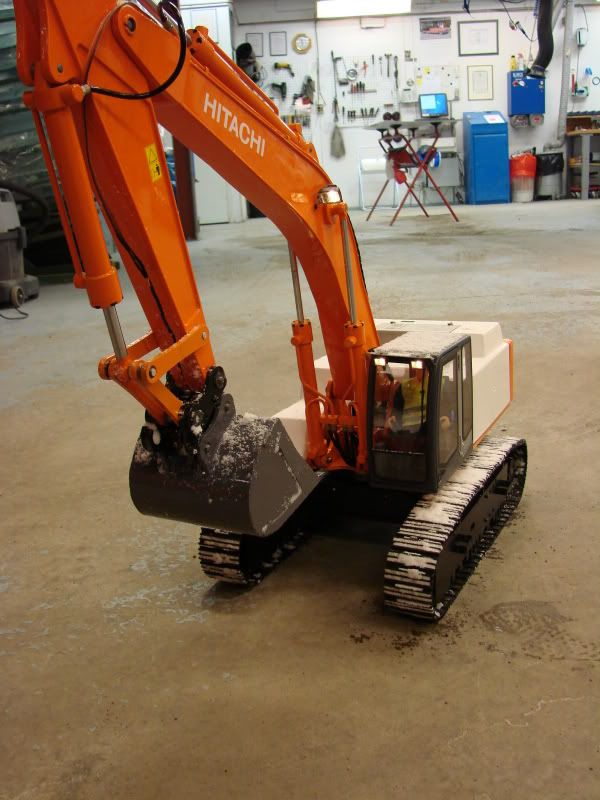
Ok, we have an update!
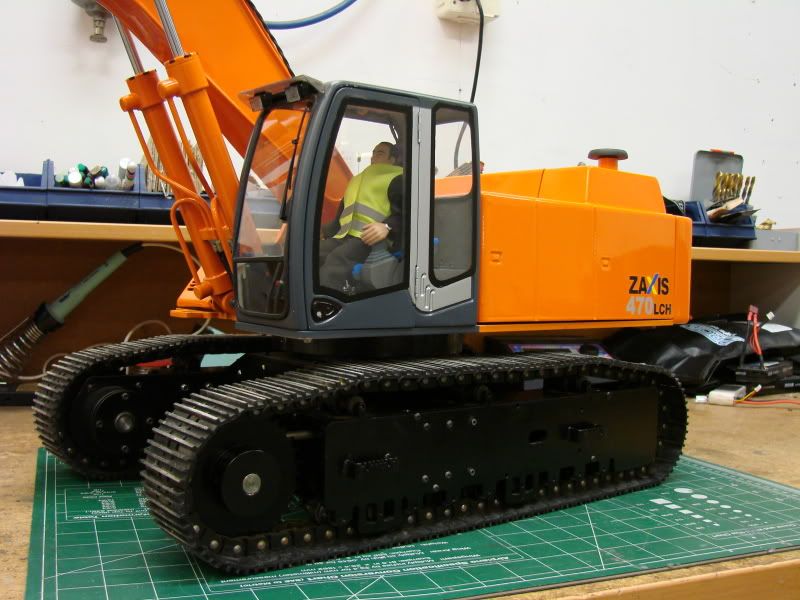
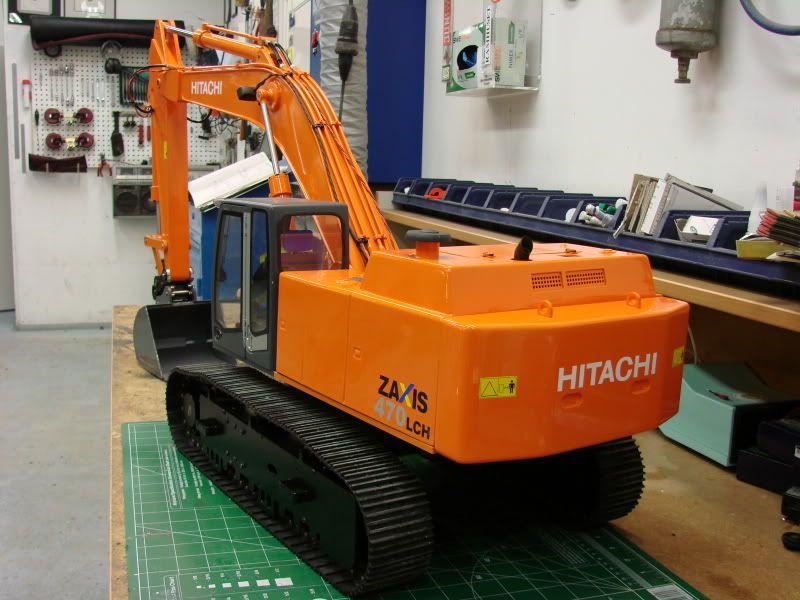
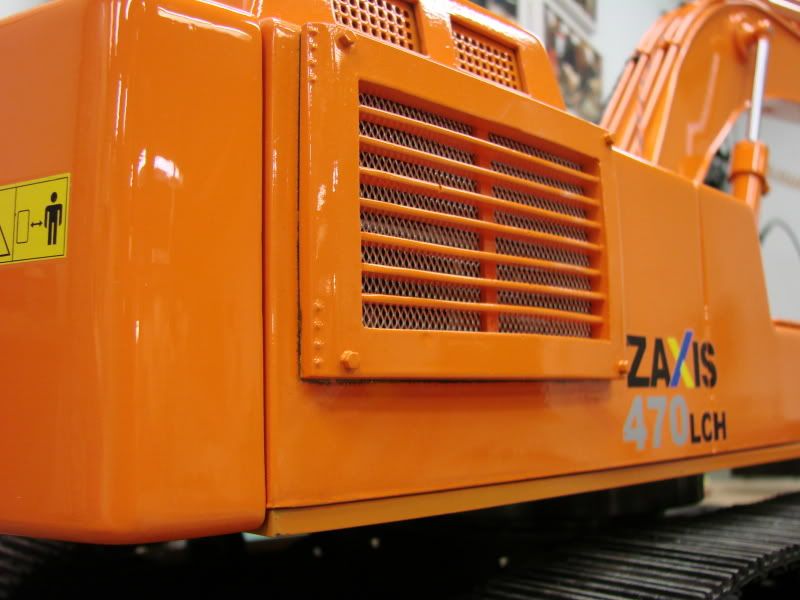
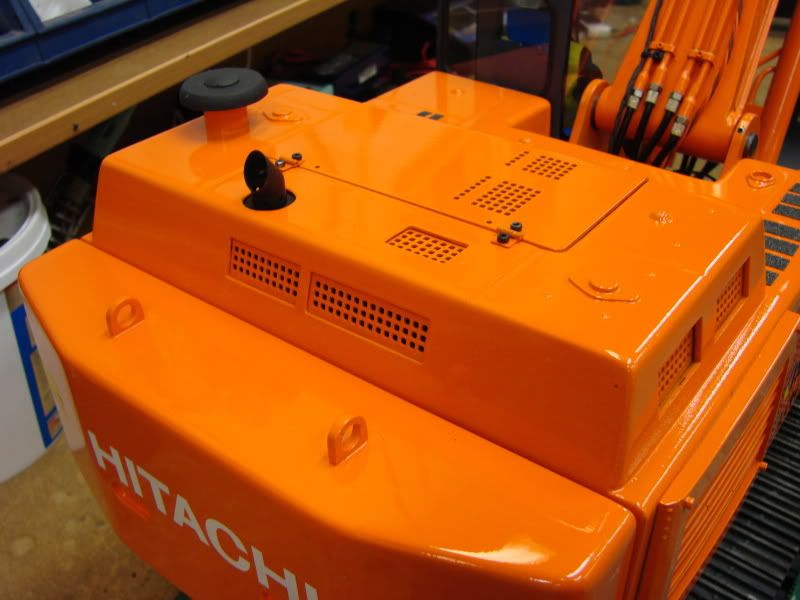
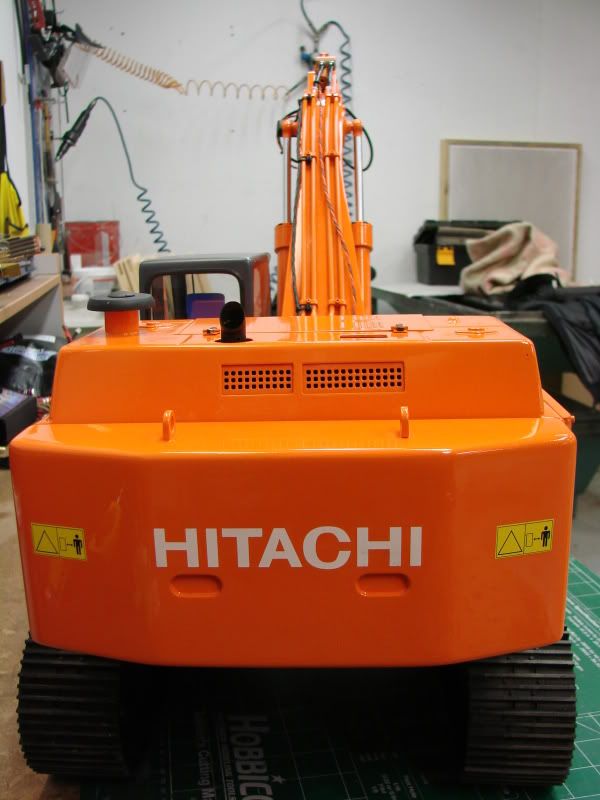
The painted parts are back and mounted up, i had to make some new hyd hoses becouse i made them to short the first time, all perfect now though.
The quick coupler i painted myself with rattle can spray and it sucks, i have to re-do it later.
The counter weight is filled with lead balls, approx 2.5kg for now, i want to try it before adding more, i also need to be able to lift it!

It weighs in at 32.6kg as it is now, it is heavy!
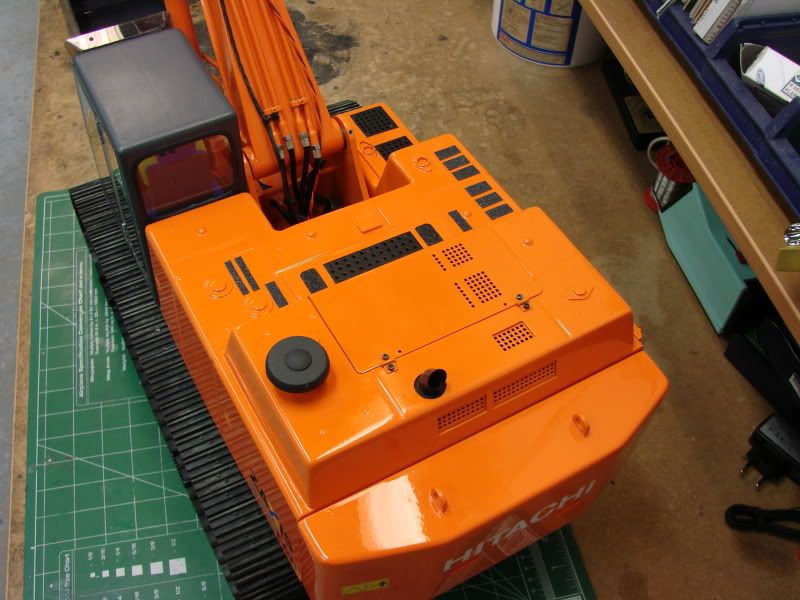
Also the decals are on as well.
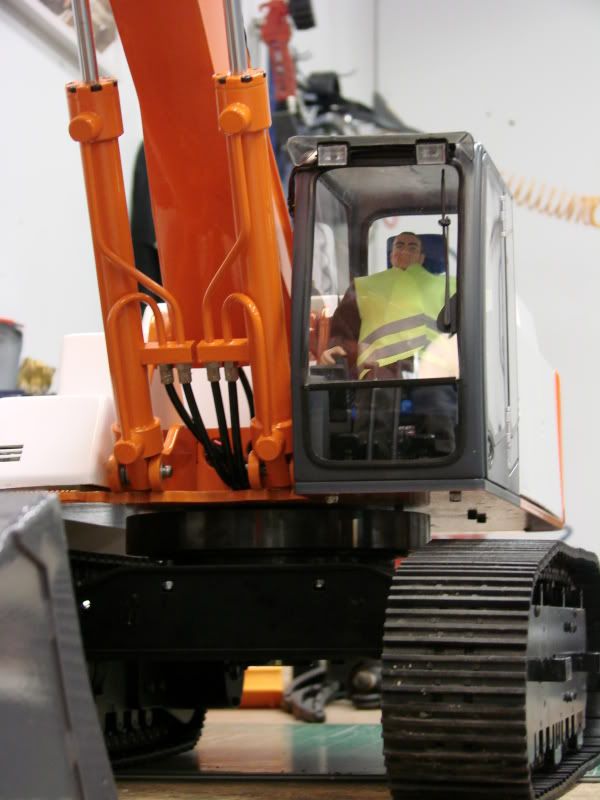
Geschrieben von KallleSwe am 31.12.2010 um 22:00:
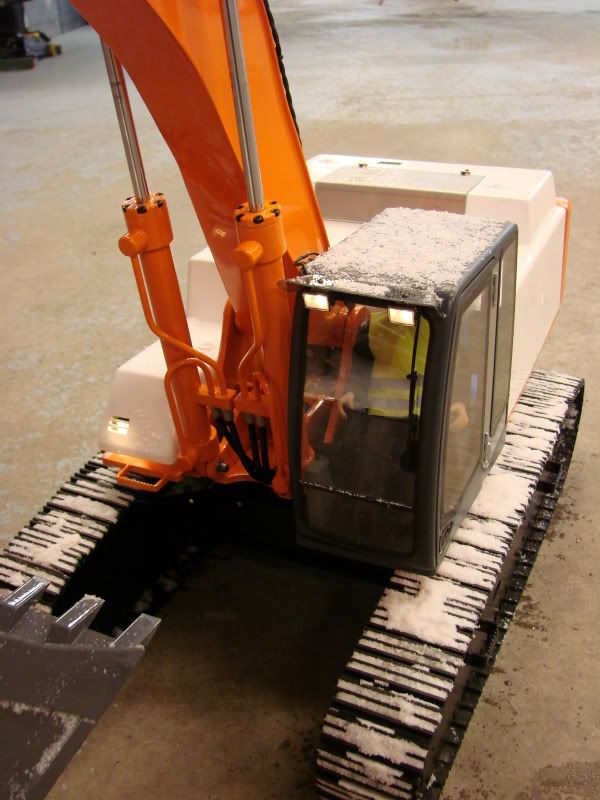
Well i got the sunvisor done, just need to change the leds, they are not very bright, i think those are more for markers or so.
Anyway they look really good there and the sunvisor also helped in the snow, not a single snowflake on the windshield! :nice:
I also have changed to a 4cell lipo to get some more power to the tracks (thx Ed) and it made a huge difference over the 3cell i had before.
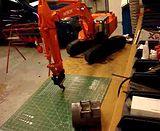
It was so much fun to operate it today, run it for about 20min and filmed a little of it, controls are a little "fuzzy", i sat in front of the excavator and it screwd my brain up at sometimes! :p
A few snowy pics and vid...


VIDEO
[img]

[/IMG]
Geschrieben von loop-star am 03.01.2011 um 20:29:

It works and looks very nice!
But can you drive and dig at the same time?
Geschrieben von KallleSwe am 03.01.2011 um 21:03:
| Zitat: |
Original von loop-star
It works and looks very nice!
But can you drive and dig at the same time? |
Thanks!
Drive and dig at the same time, yes, but why? I could do that but i dont see the need to do that.
Geschrieben von loop-star am 03.01.2011 um 21:28:
Hello
I asked that because i do not know how to set the channels with a transmitter wich has only two sticks?
I thougt it would only be possible with changing the modes by using a switch.
How do you do it?
Geschrieben von JensR am 03.01.2011 um 21:37:
RE: Hello
Kalle uses a transmitter with more channels, as shown on the previous page:

I assume the linear sliders between the two sticks are for controlling the tracks.
Cheers
Jens
Geschrieben von KallleSwe am 03.01.2011 um 21:55:
RE: Hello
| Zitat: |
Original von loop-star
I asked that because i do not know how to set the channels with a transmitter wich has only two sticks?
I thougt it would only be possible with changing the modes by using a switch.
How do you do it? |
Aha, now i see what you talking about.
Yes, Jens is right, the sliders in the middle controls the tracks and the sticks swing/boom/stick/bucket.
Geschrieben von Sandokahn am 14.01.2011 um 00:23:
Nice

Geschrieben von mad ass am 14.01.2011 um 14:32:
Very nice
=D
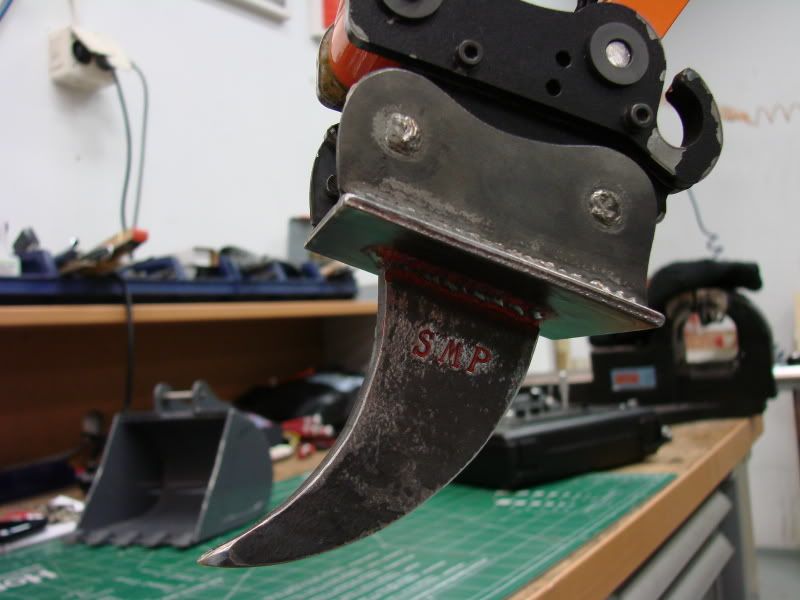
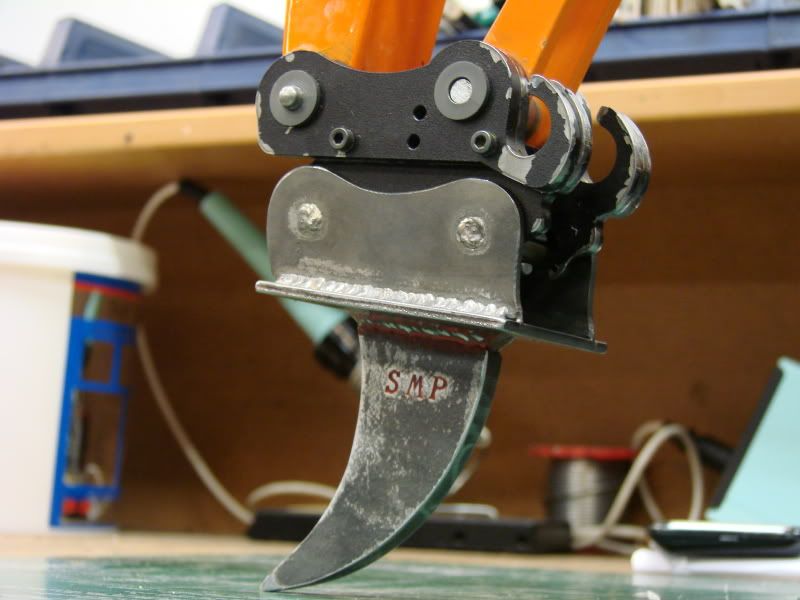
Geschrieben von KallleSwe am 17.01.2011 um 22:13:
Thanks guys!
A little update, a very friendly friend of mine helped me out today to make a ripper at hes work, it turned out really good i think, we kinda just got it out from our heads on the way we build it.
Maybe will add some supports to it for looks, it will hold up great anyway i think, also later on i will add a removable tooth.
Heres some pics and a vid.

[img]
[/IMG]
Geschrieben von JensR am 17.01.2011 um 23:13:
Yes, that looks really good! Nice weld seam!
Forensoftware: Burning Board 2.3.6, entwickelt von WoltLab GmbH