caterpilar
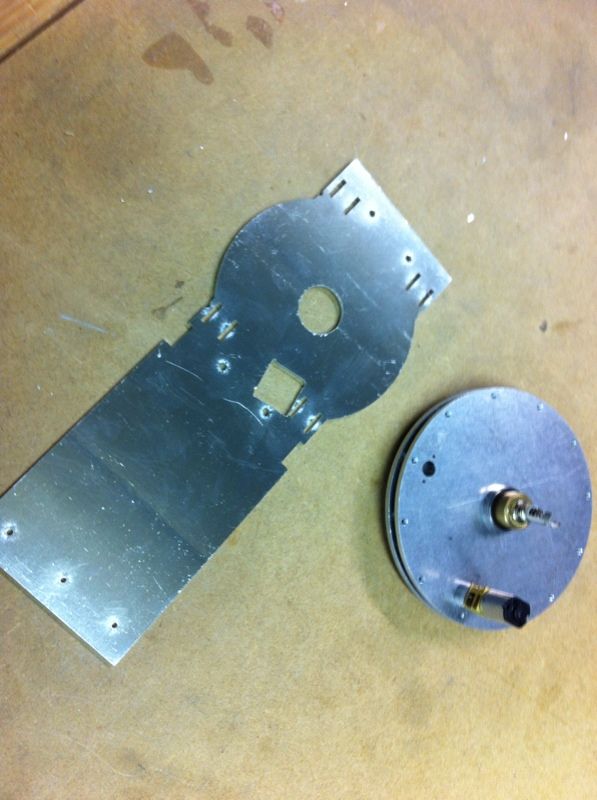
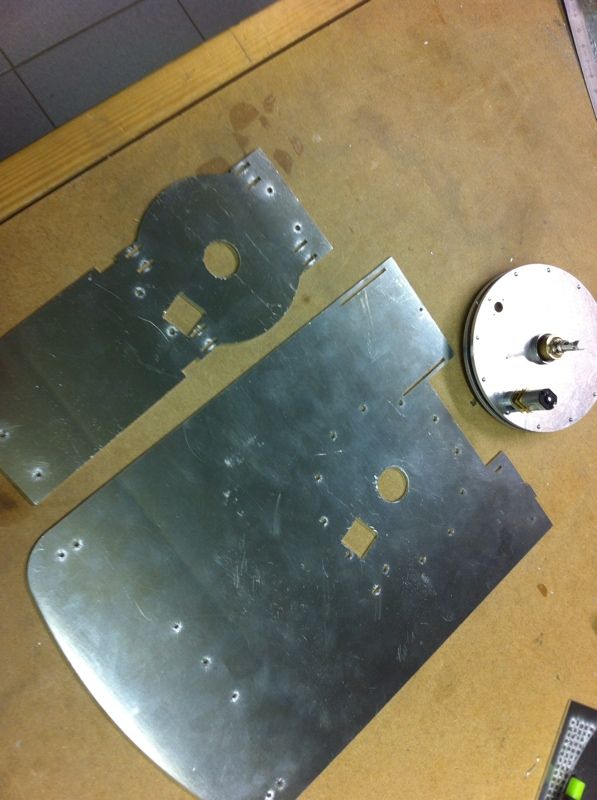
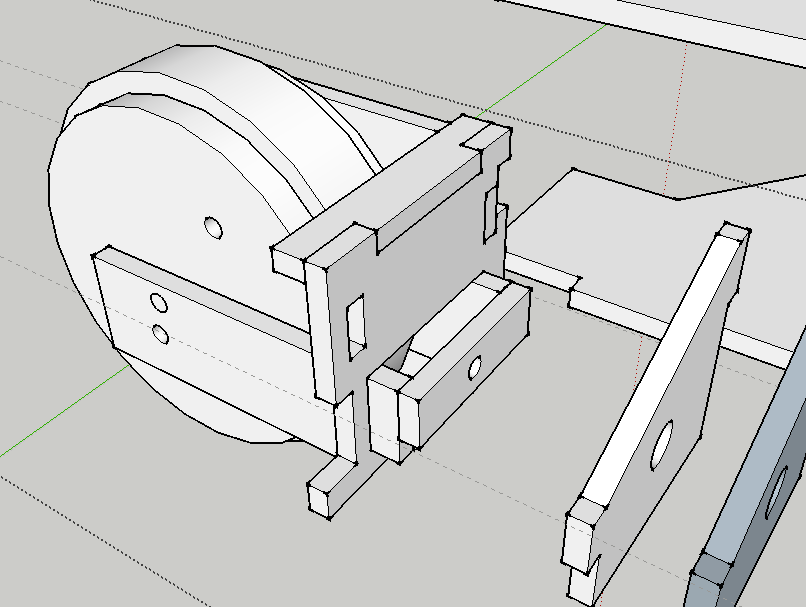
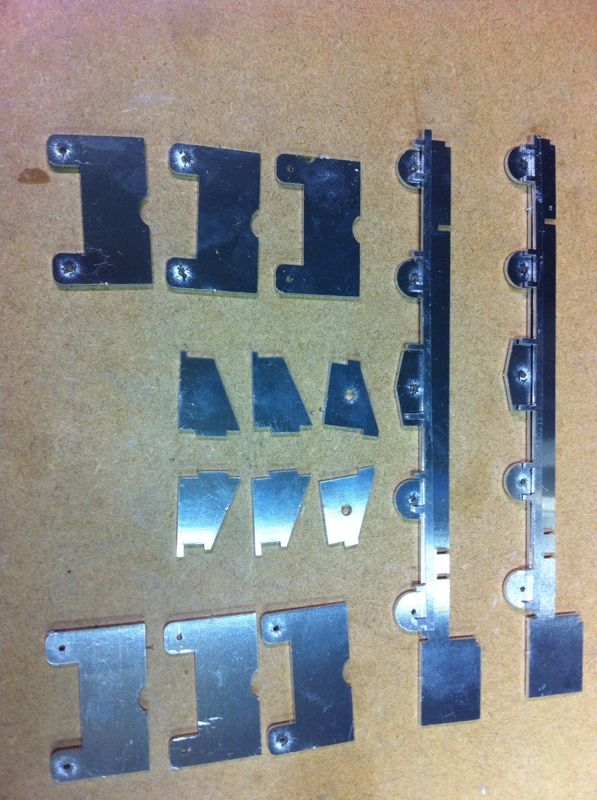
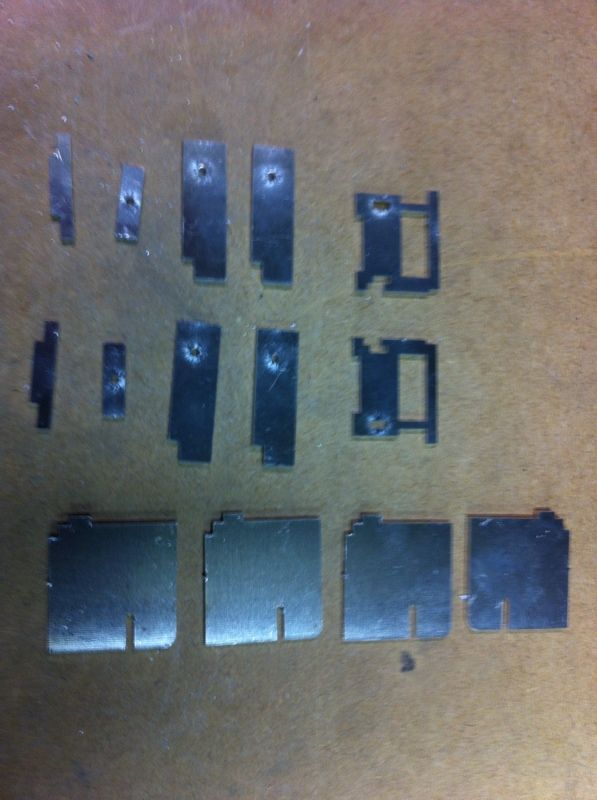
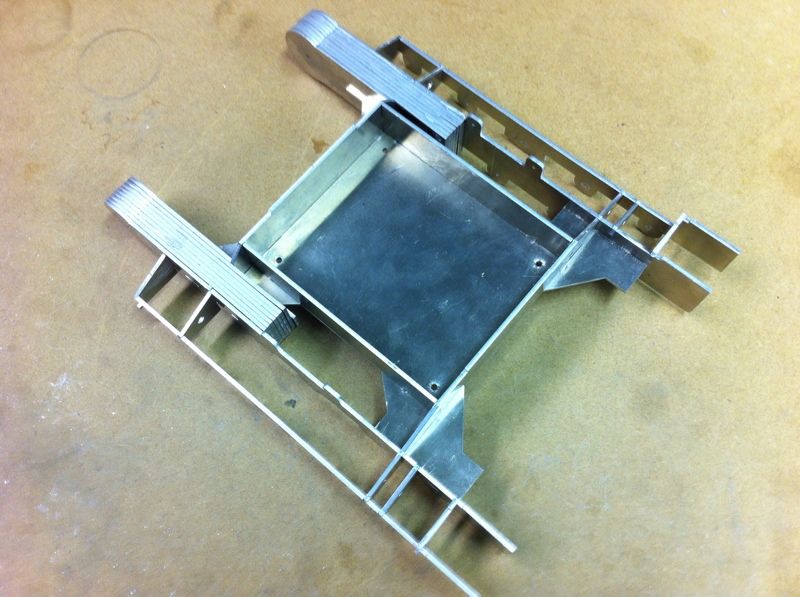
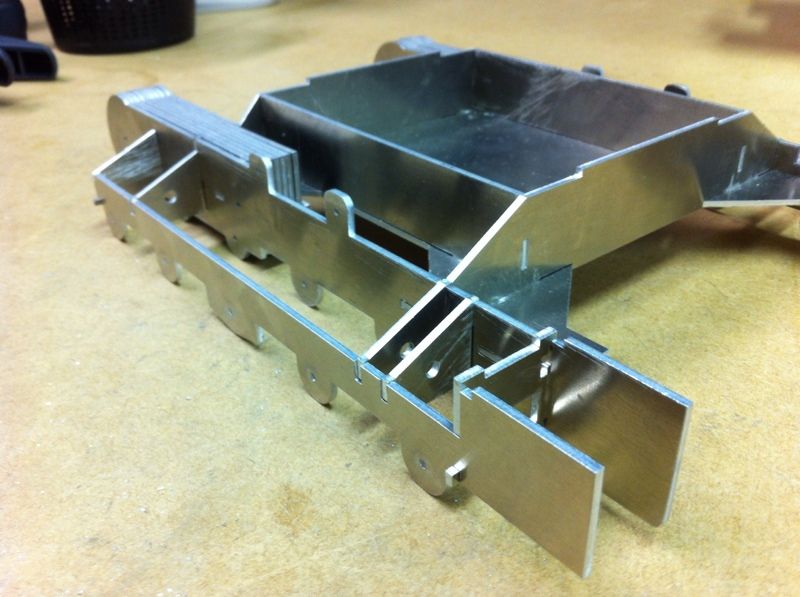
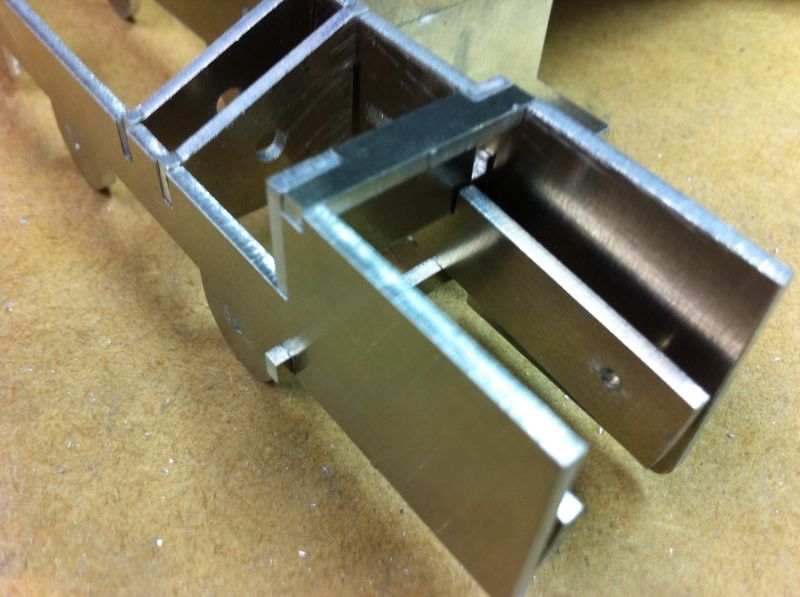
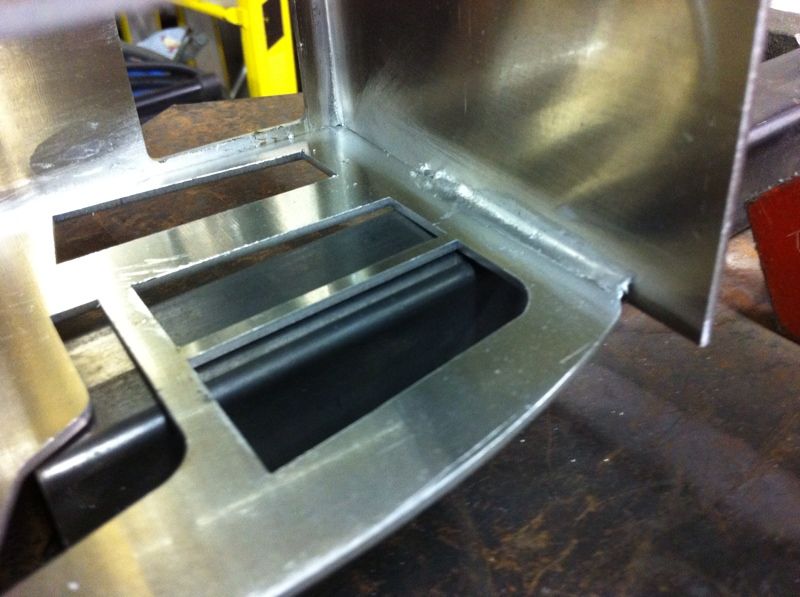
I have added a new item in my design!!
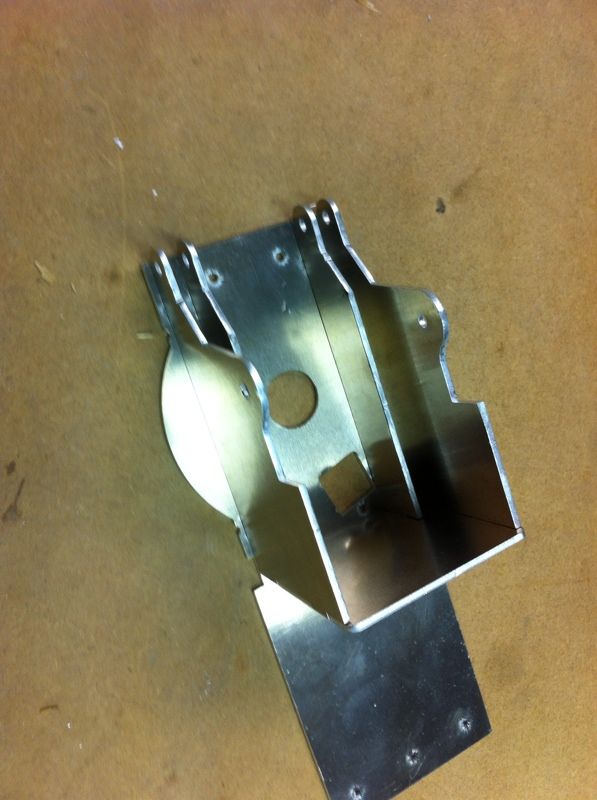
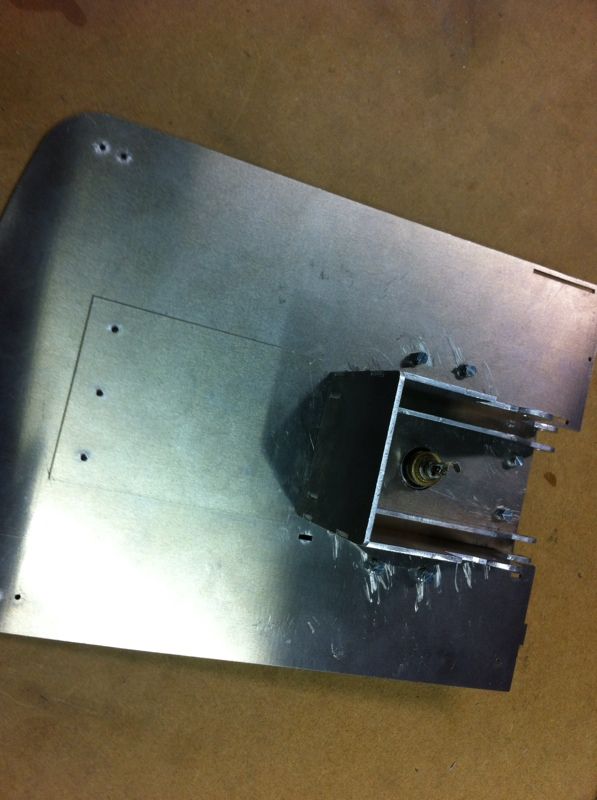
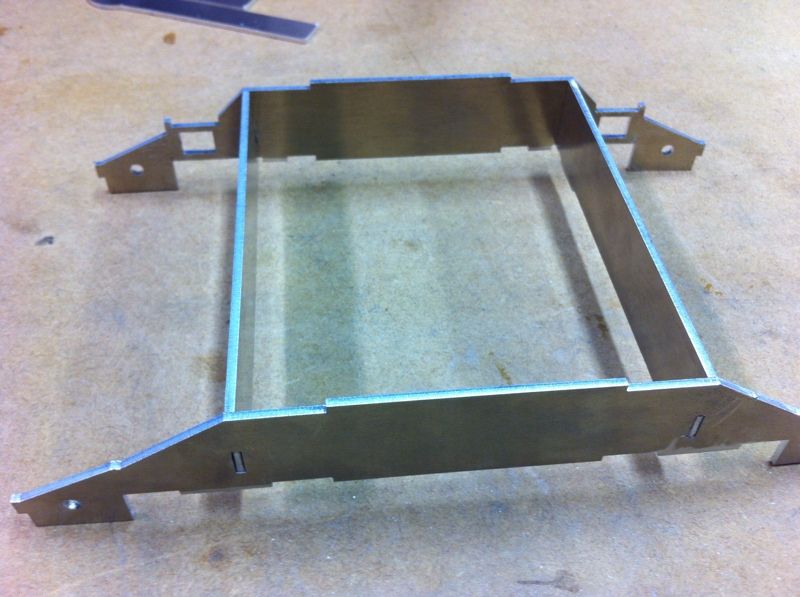
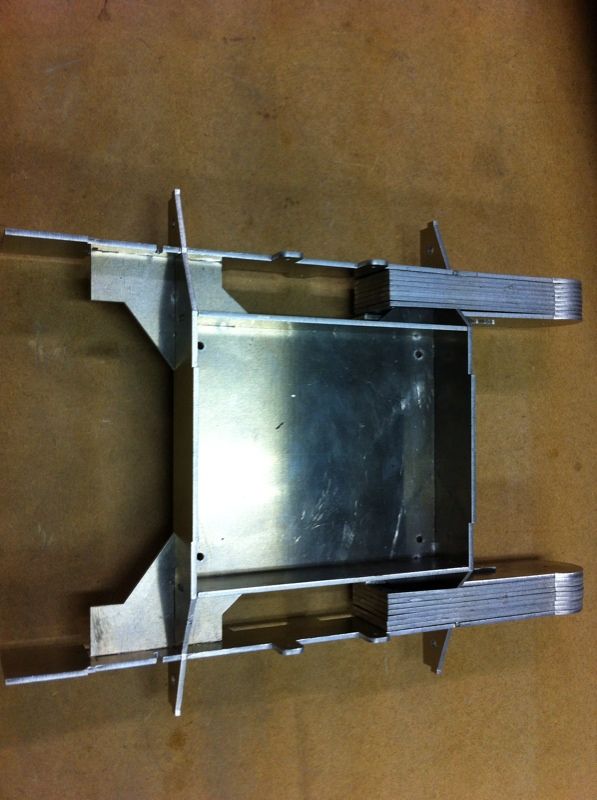
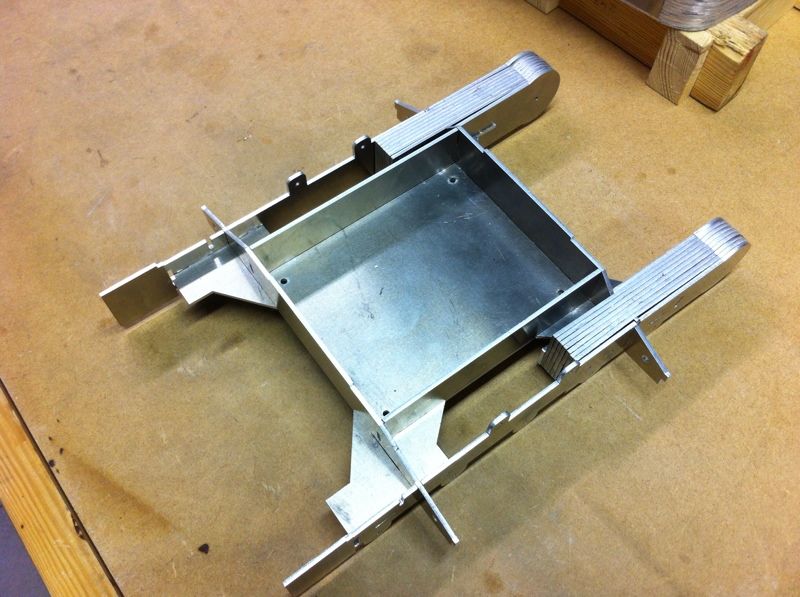
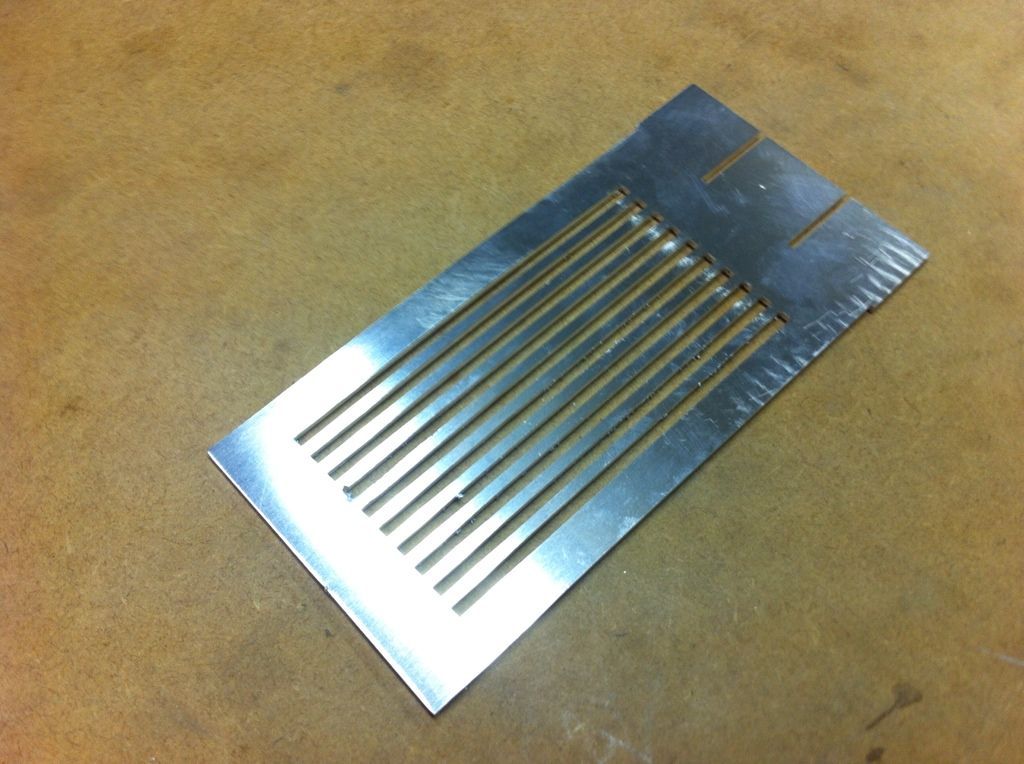
a dirt/rock separator bucket. The backplate is now available for anyone who wants it in their kit.
a few pictures below:
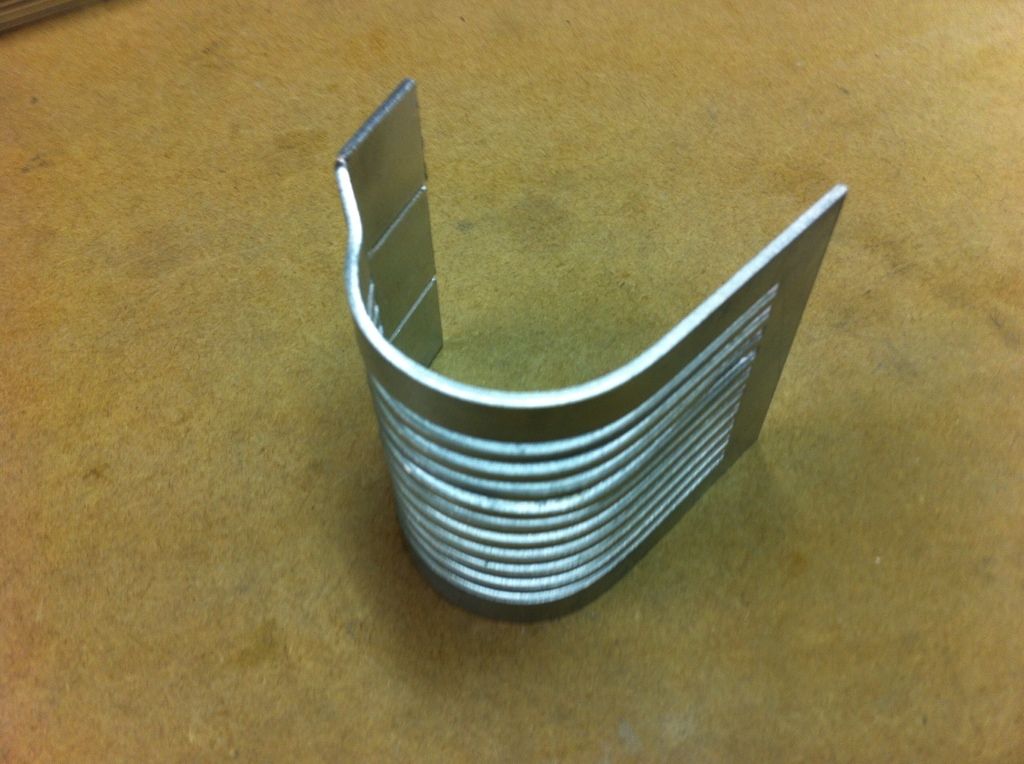
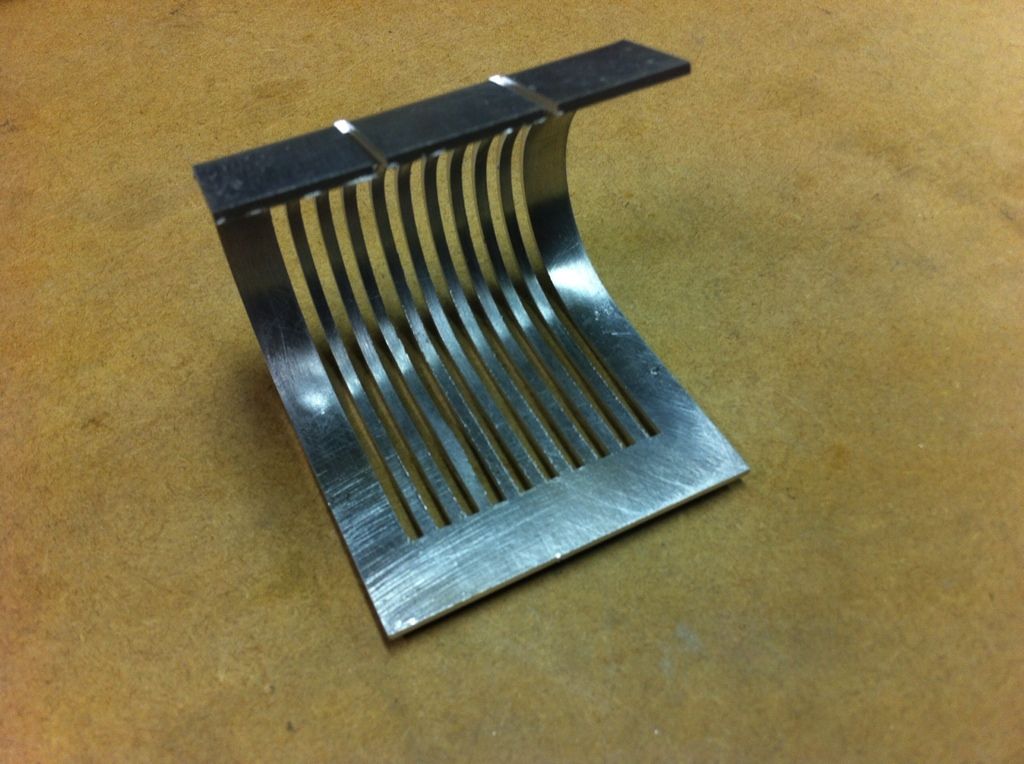
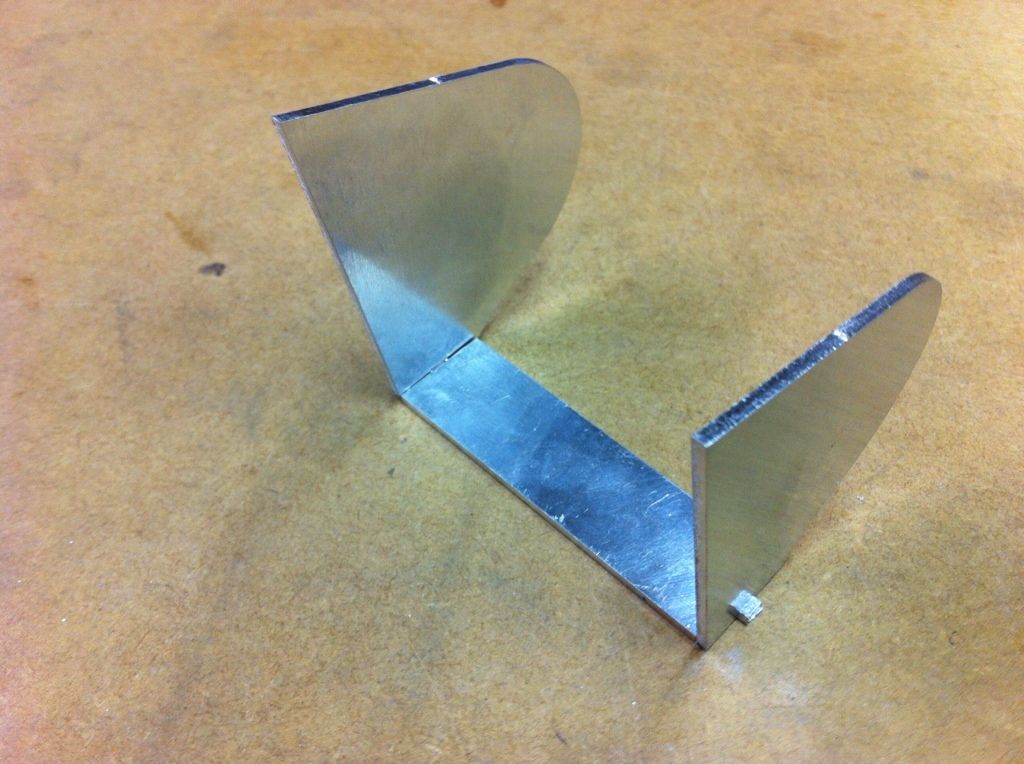
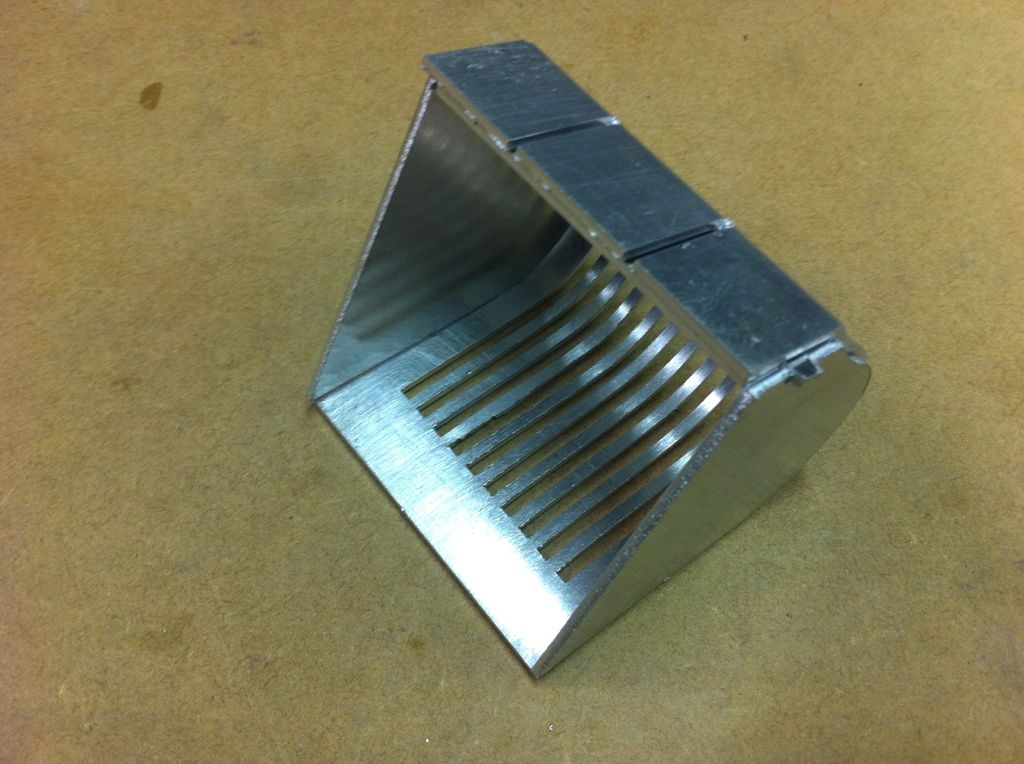
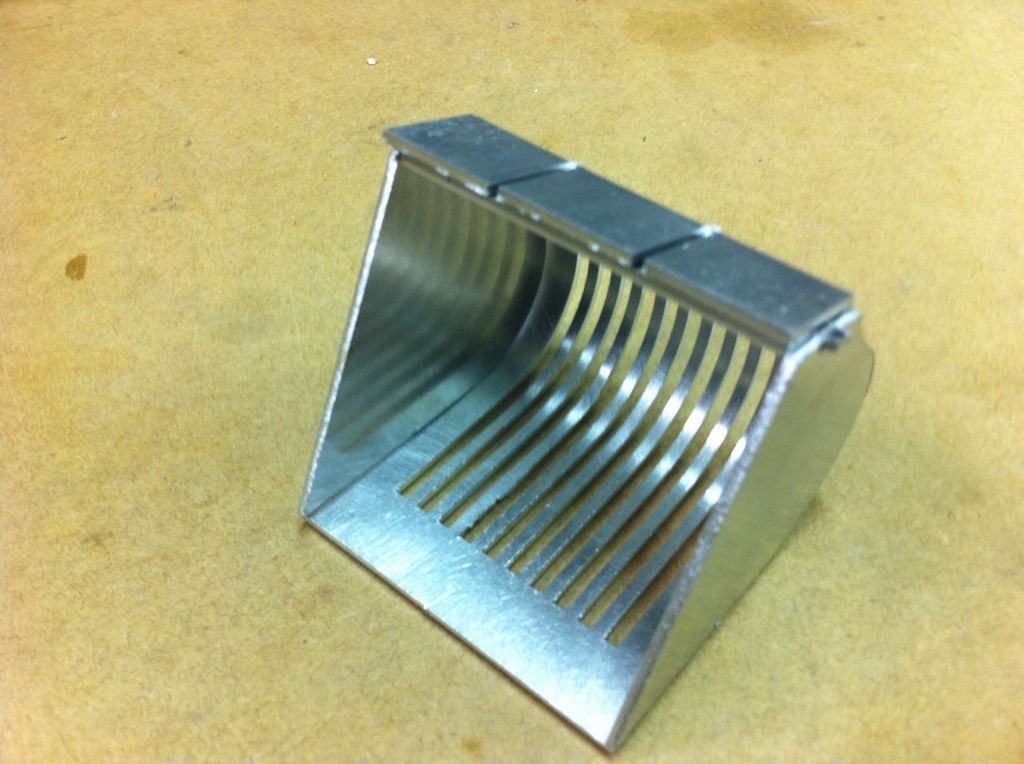
what do you think about it??
caterpilar
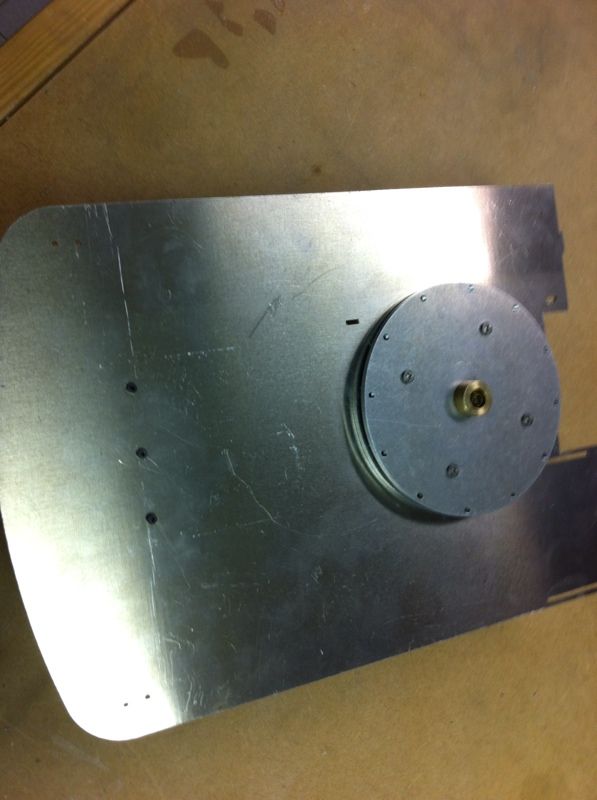
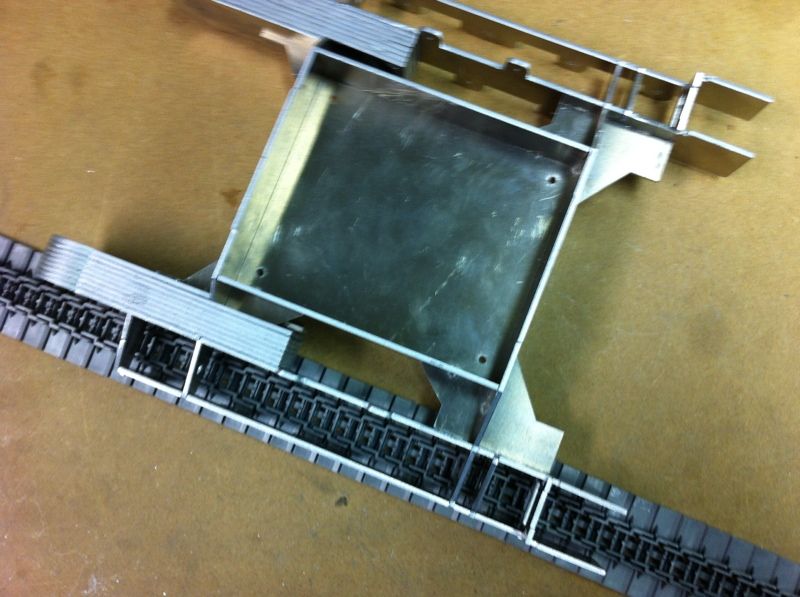
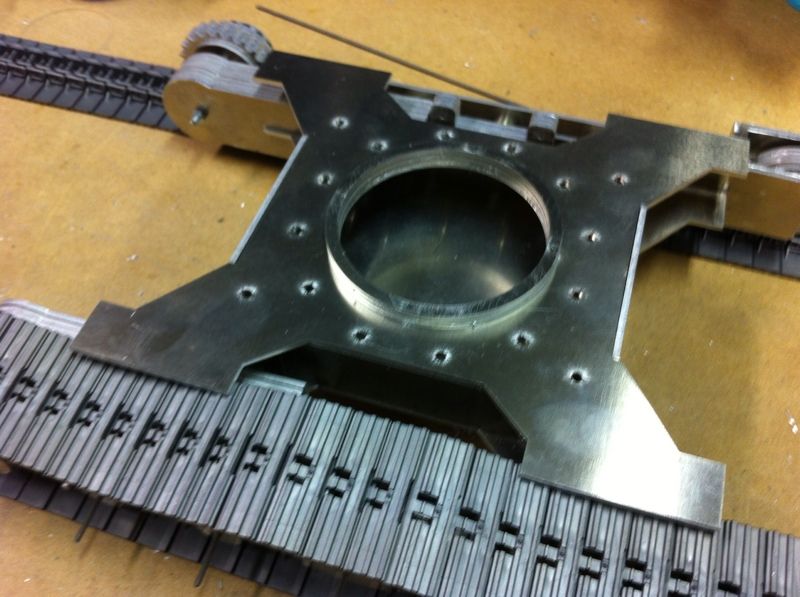
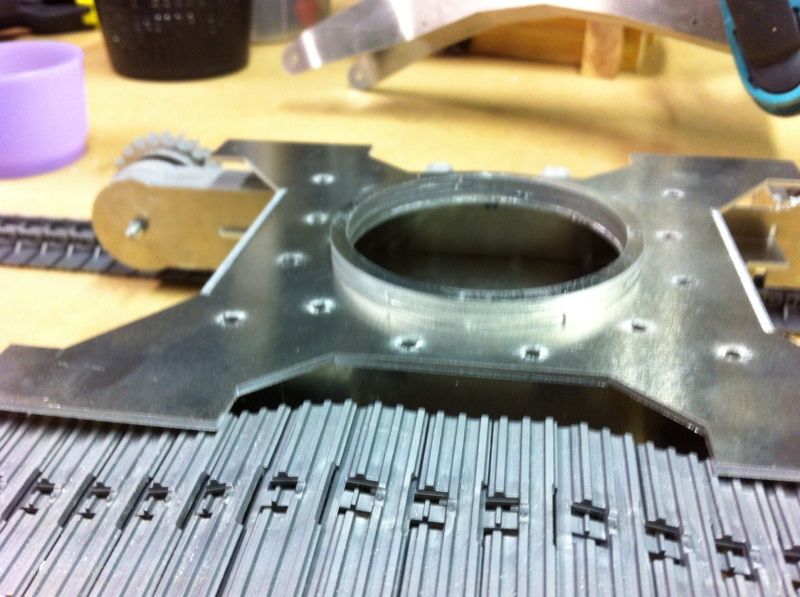
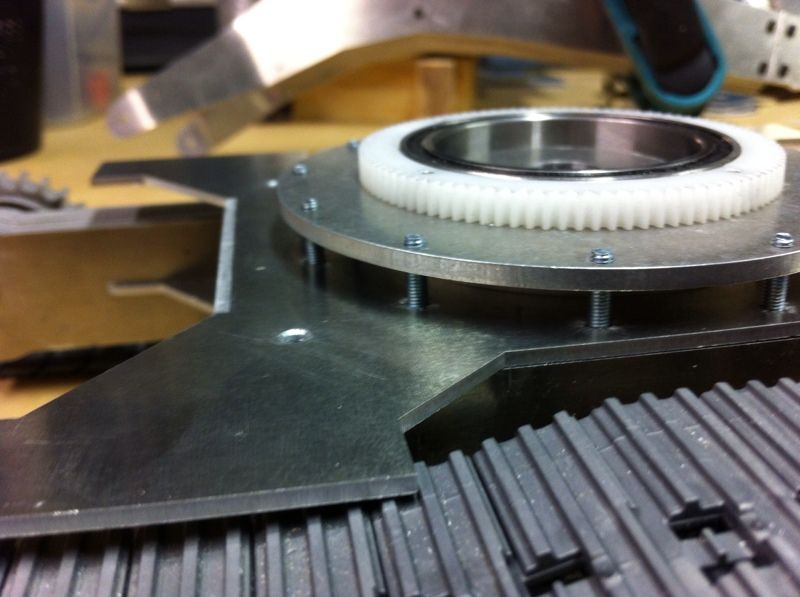
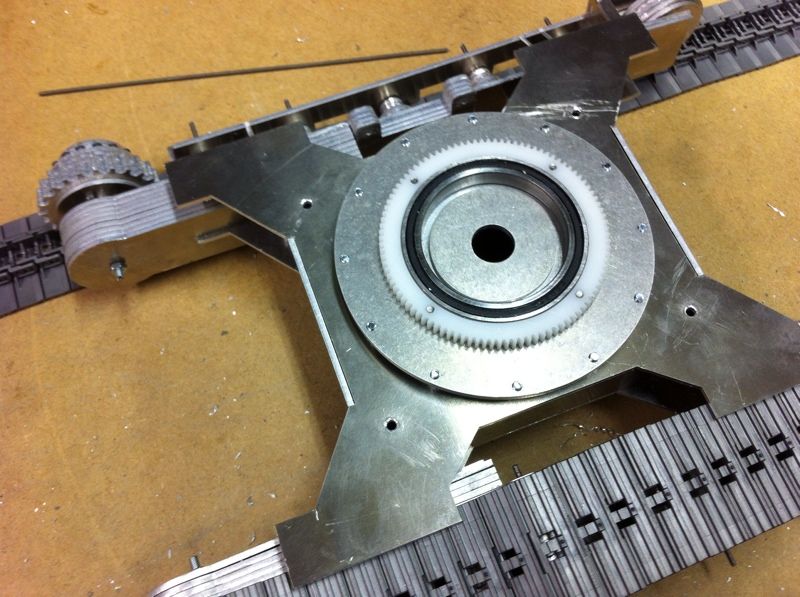
Drehkranz heute in mailbox
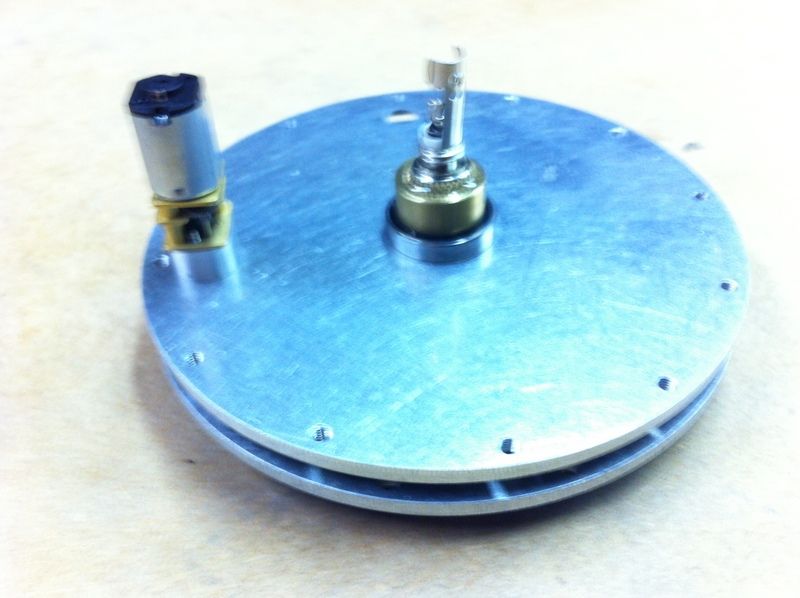

it fits perfectly with the model

caterpilar
I have checked the hydraulics and I will be getting cylinders from Robbe and the other Hydraulic components from Leimbach.
caterpilar
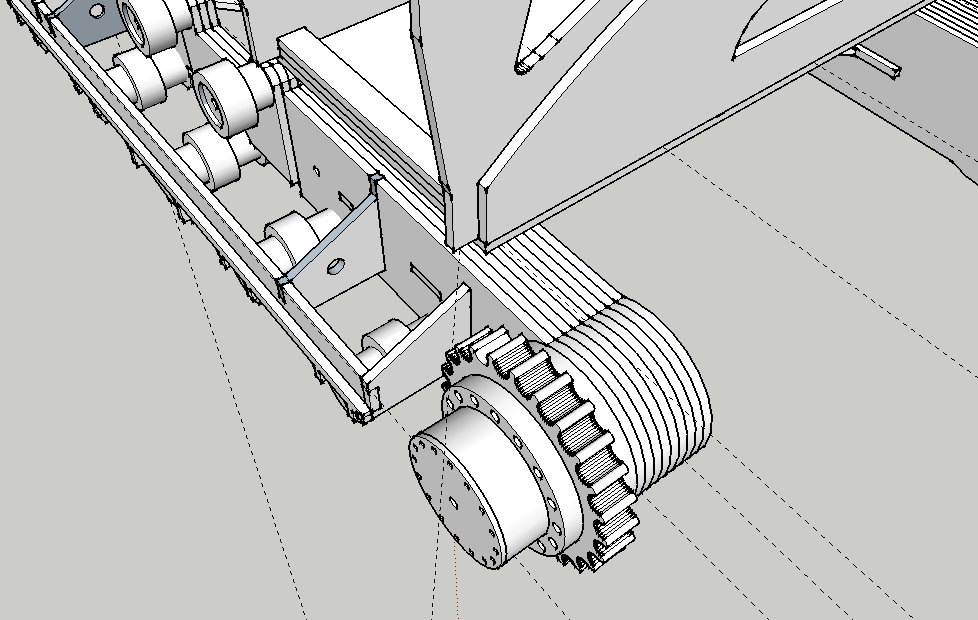
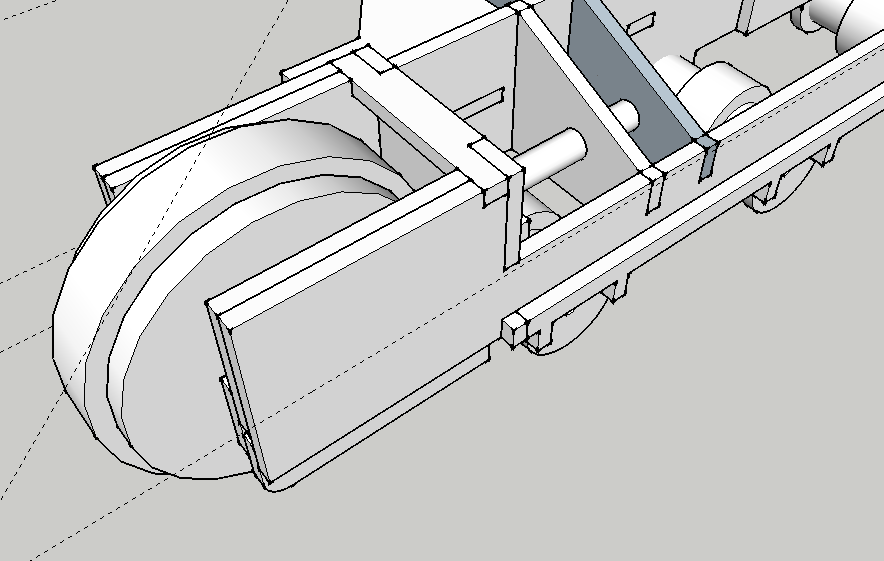
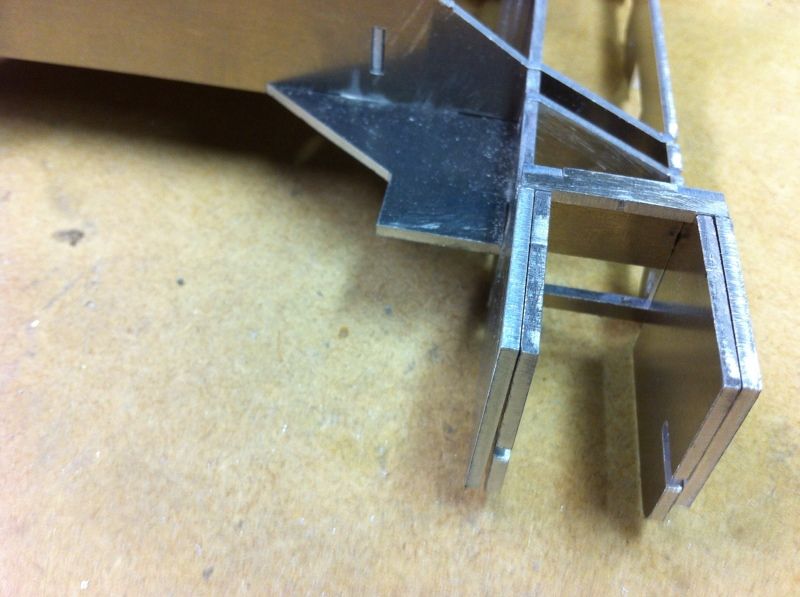
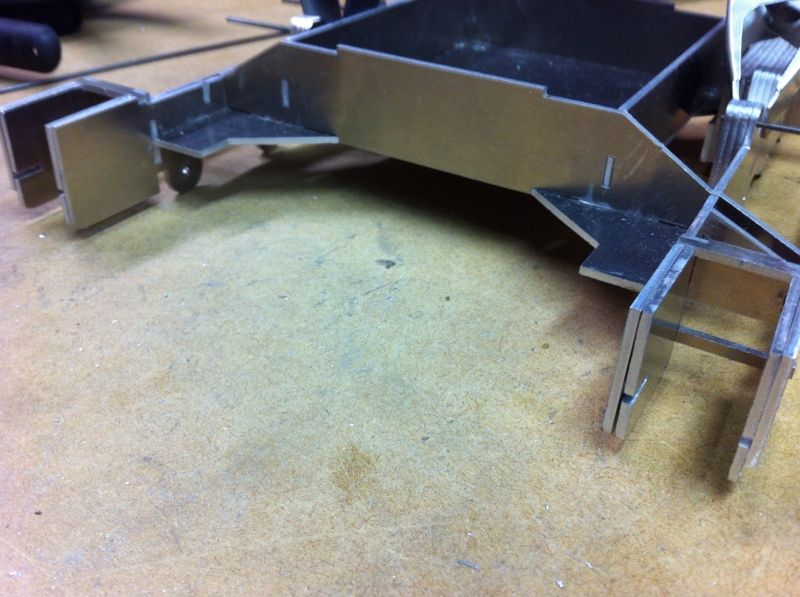
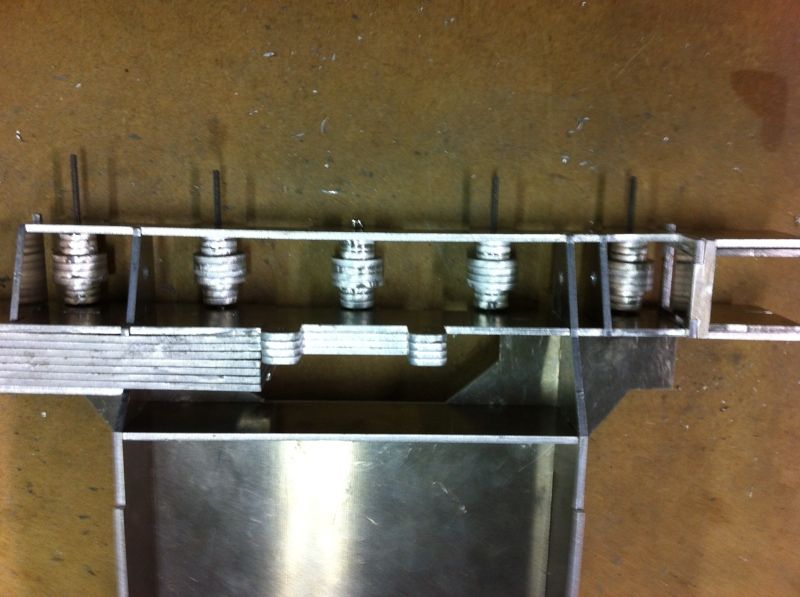
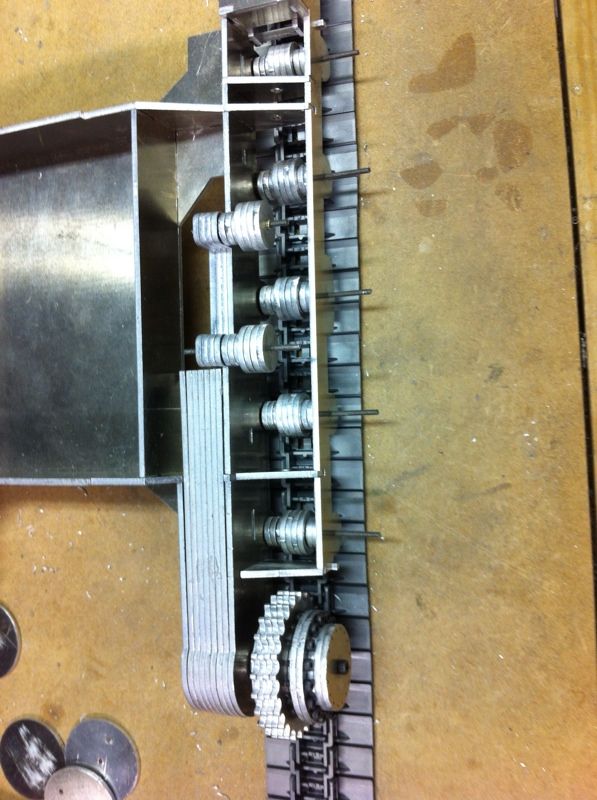
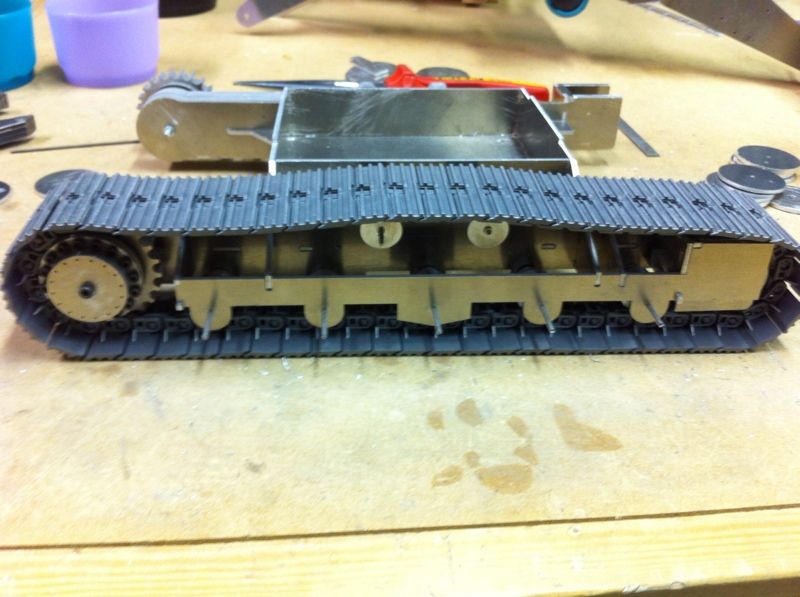
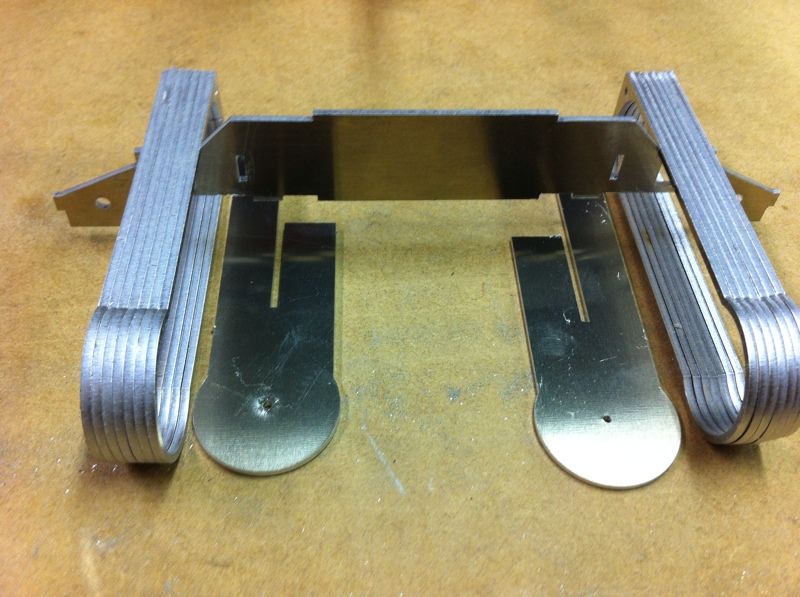
und jetzt den unterwagen.
caterpilar
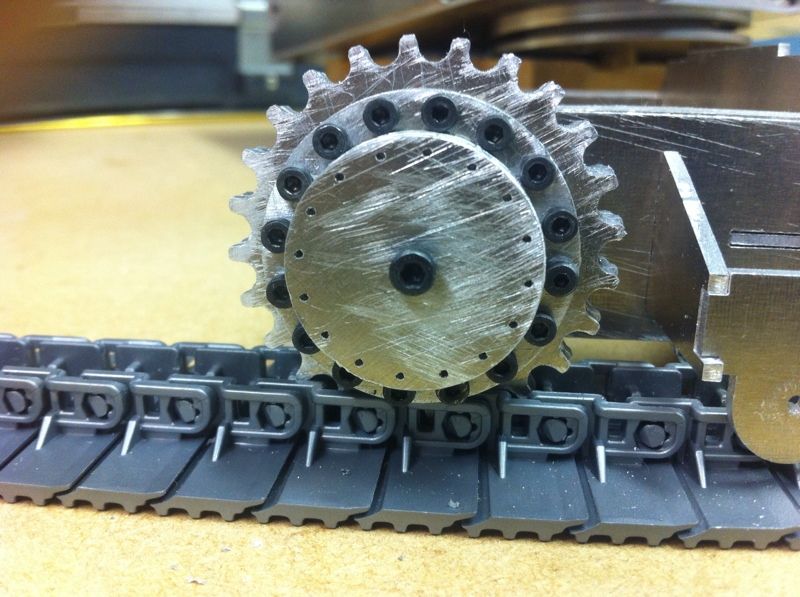
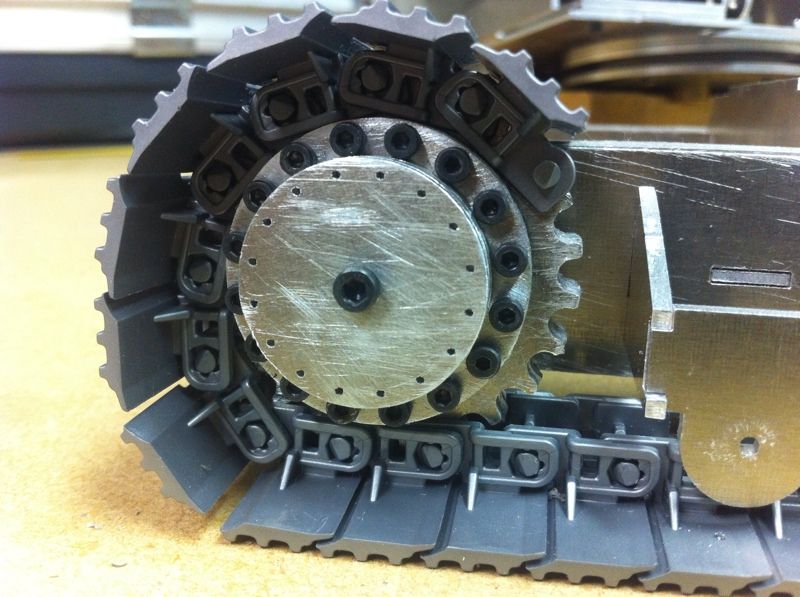
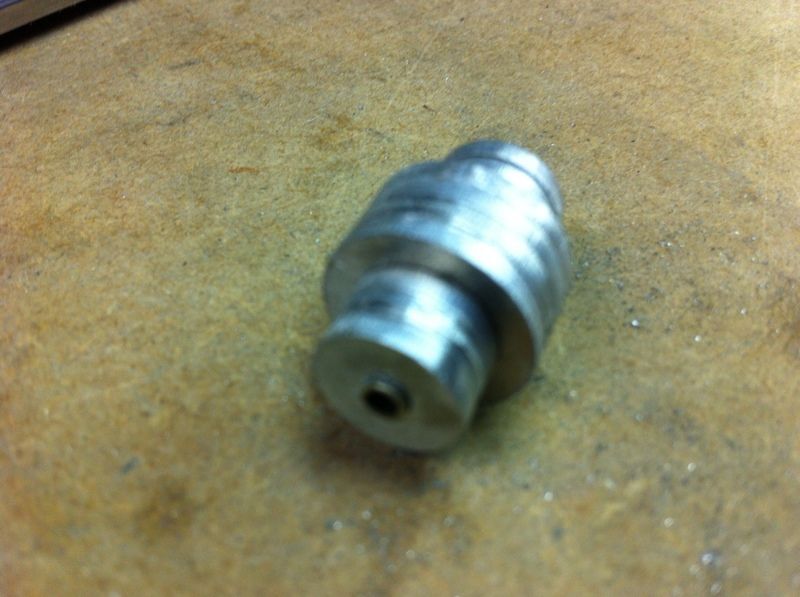
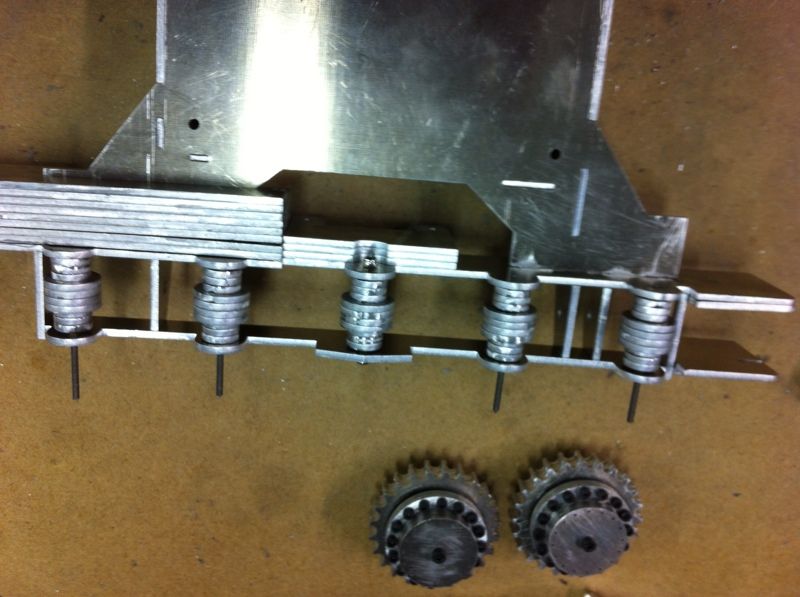
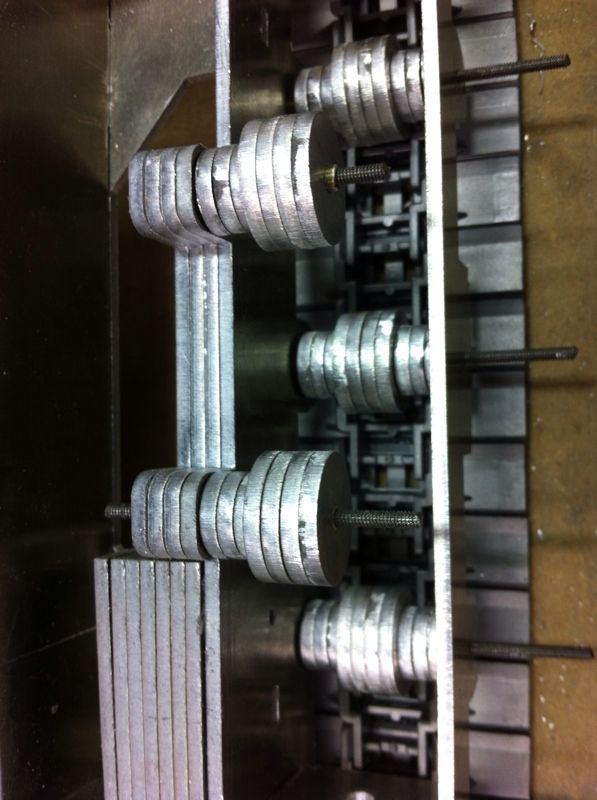
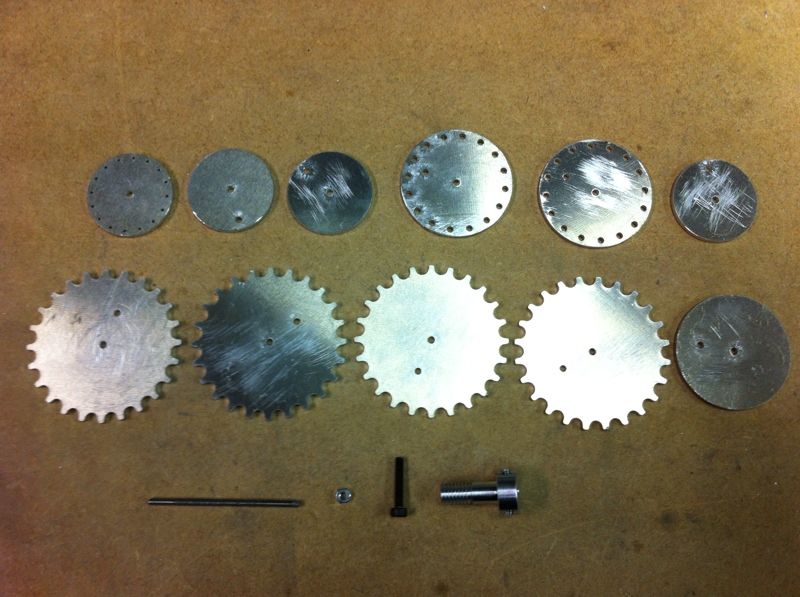
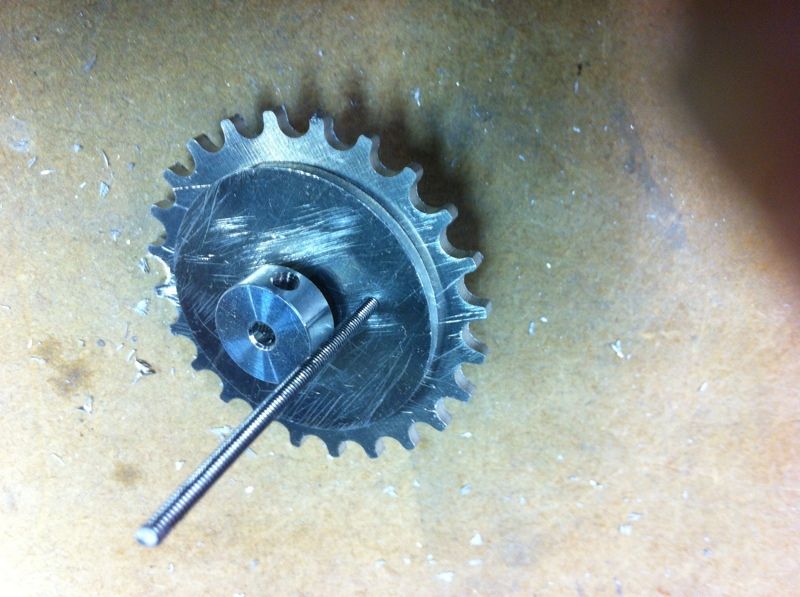
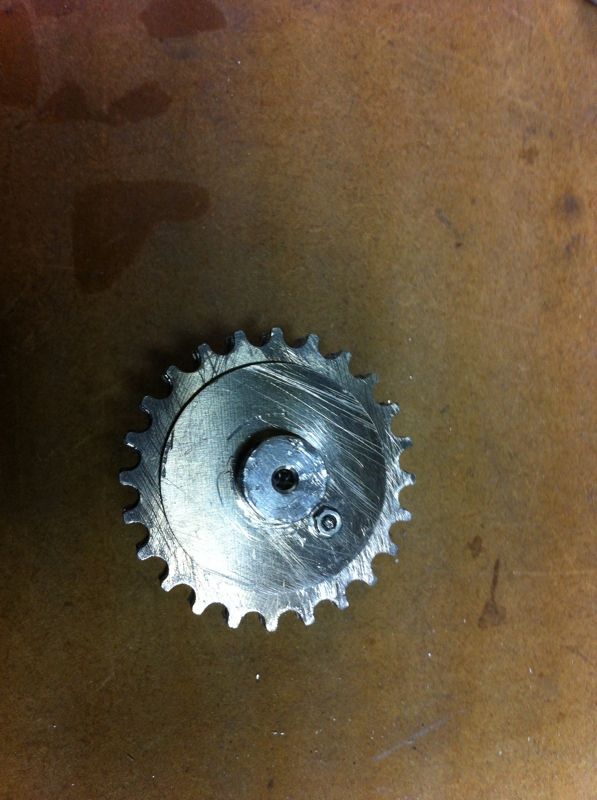
today I put together the sprocket wheel.
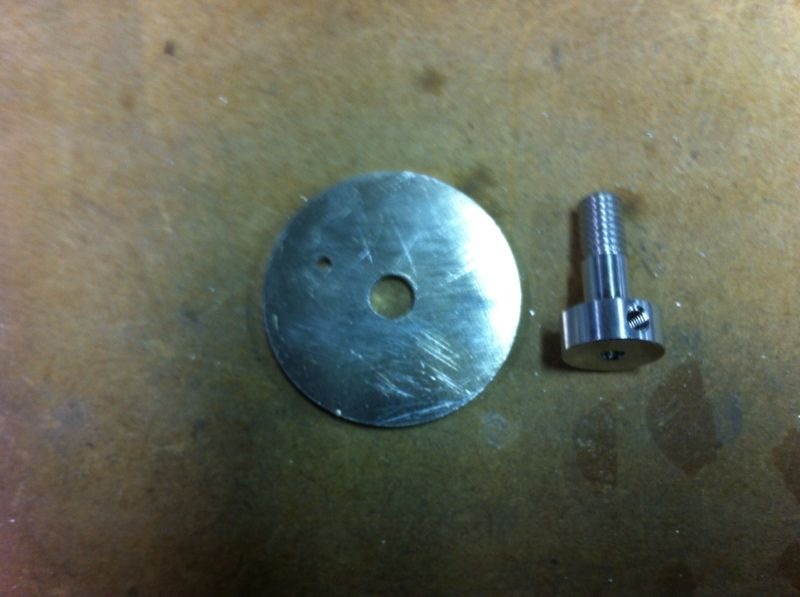
I used the following items in addition to the alu cut wheels:
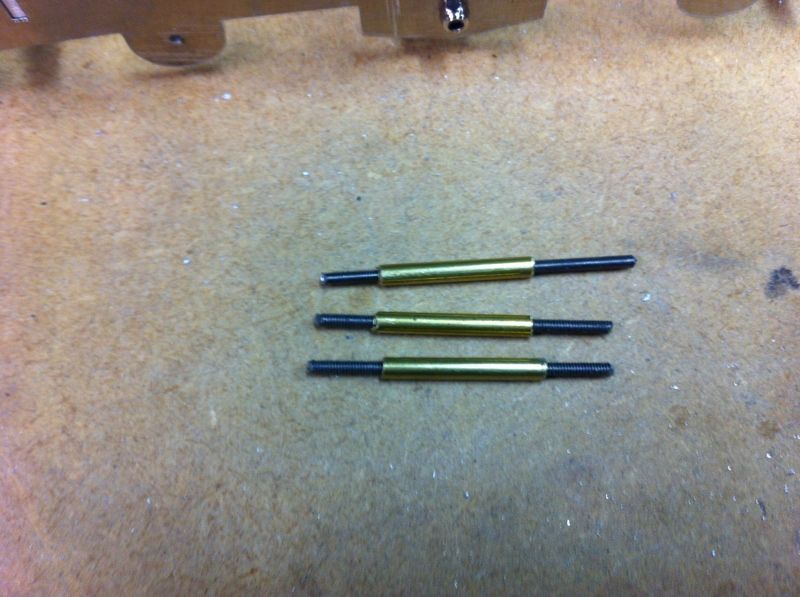
- piece of M2 threaded rod
- M2,5 bolt 8mm long
- M6 to 4mm part to connect the sprocket wheel to the motor
- M2 nut
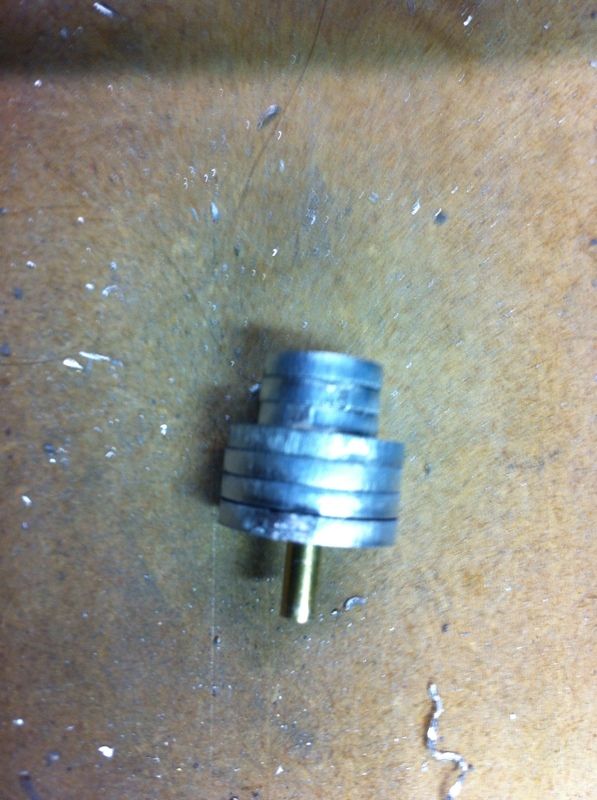
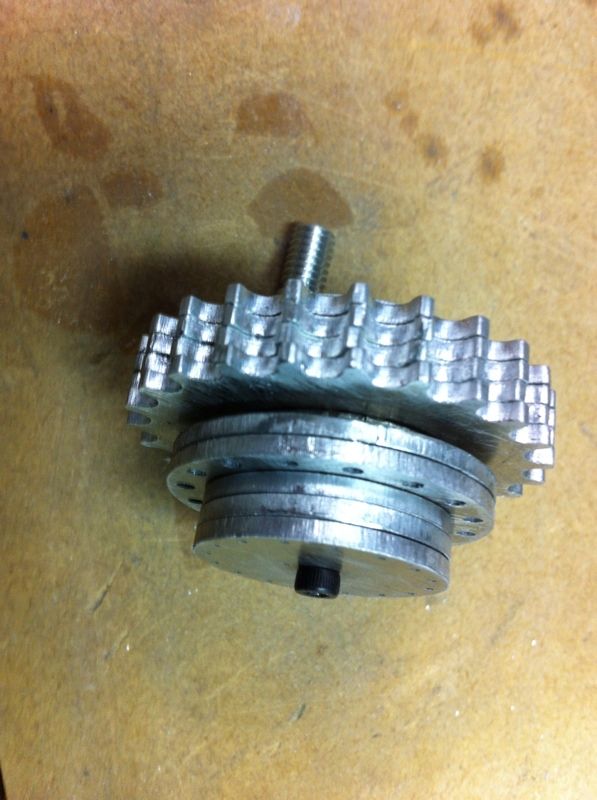
detail of the connection piece
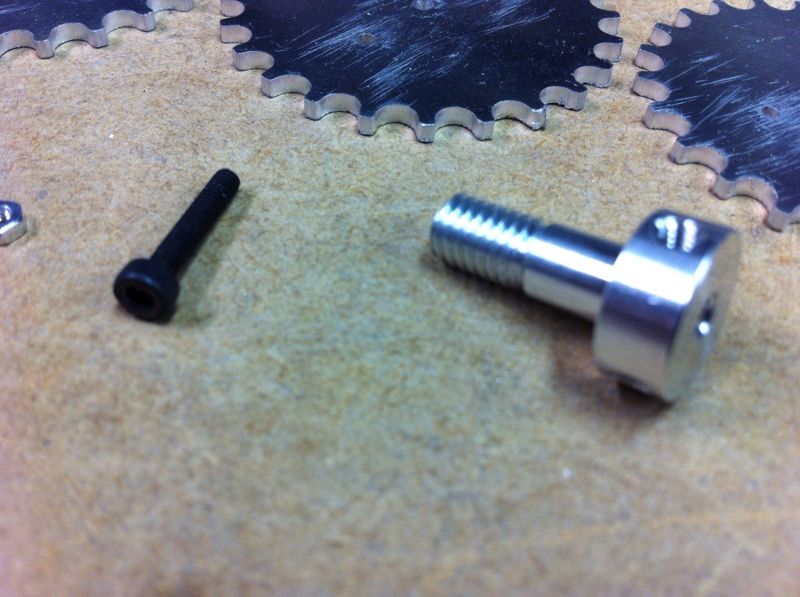
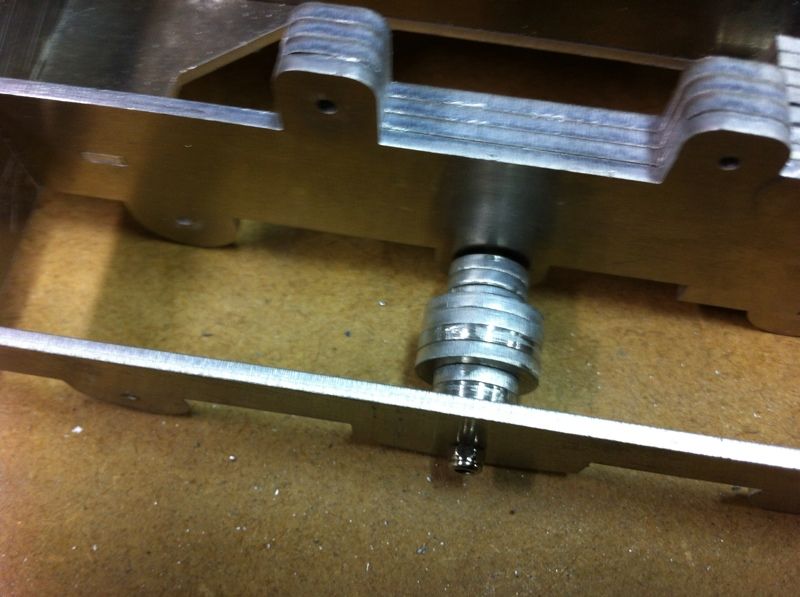
with a 6mm drill bit I started to make the holes bigger
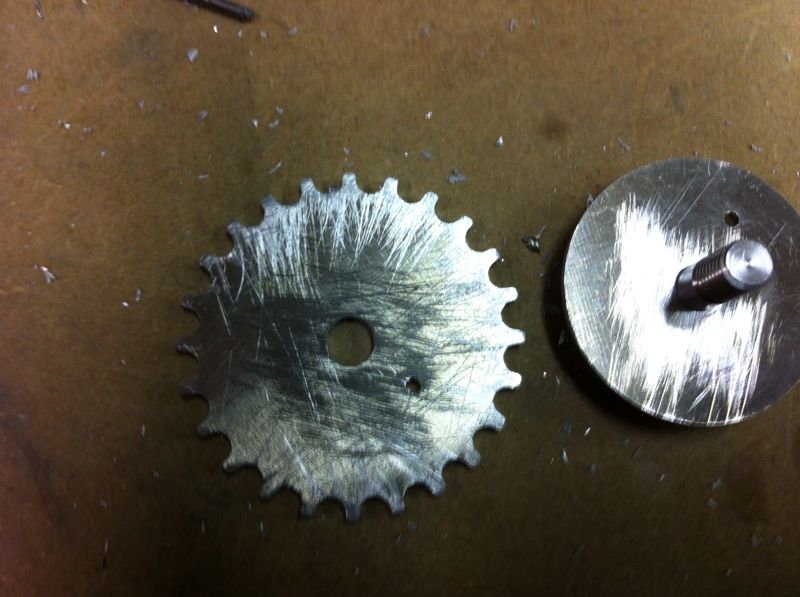
then i used a 5,5mm drill bit to make the other holes bigger. I used a M6 steel bolt to thread the 5,5mm holes of the round plates so they would fit on the connection piece

then i drilled a 2mm hole in the middle of the connection piece so I could fit the M2,5 bolt in it to hold the last 3 round plates
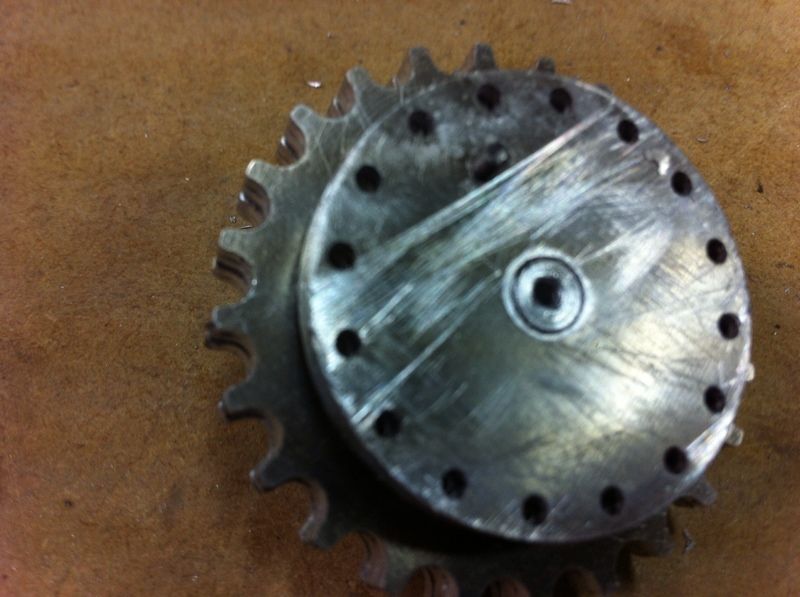
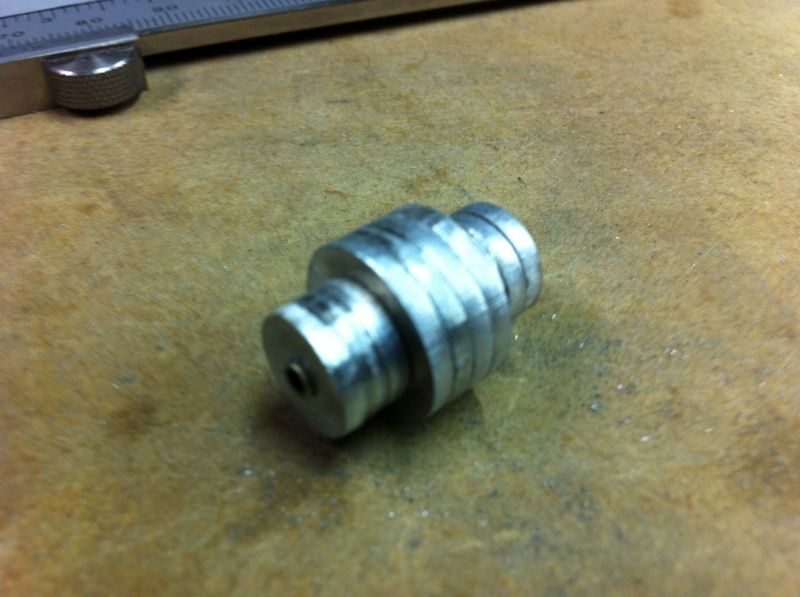
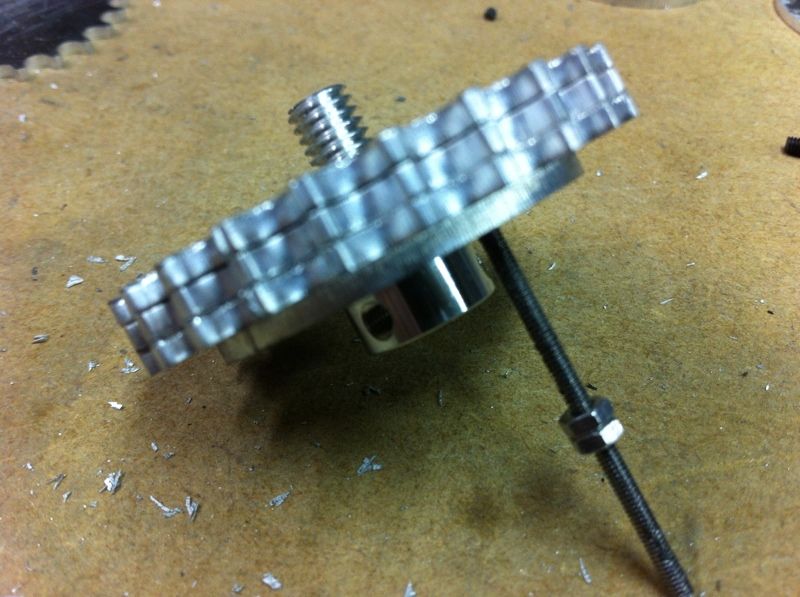
thats how the front looks
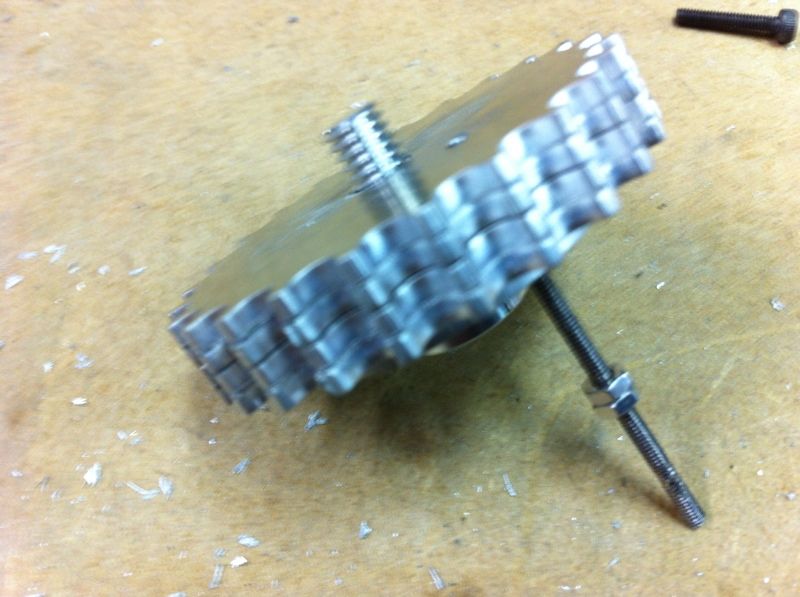
the back side, after cutting of the excess of the M2 rod and adding the nut.
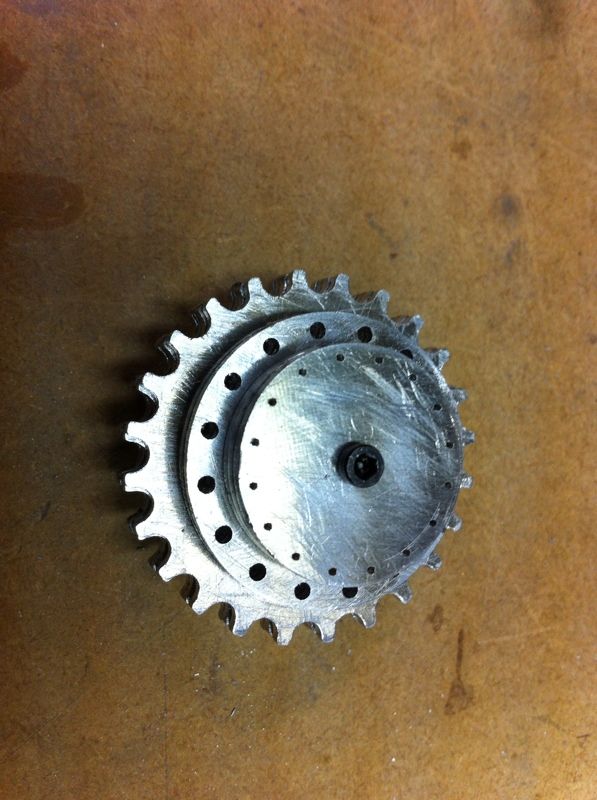
i decided to add 16 bolts M2 of 6mm to finish off the front
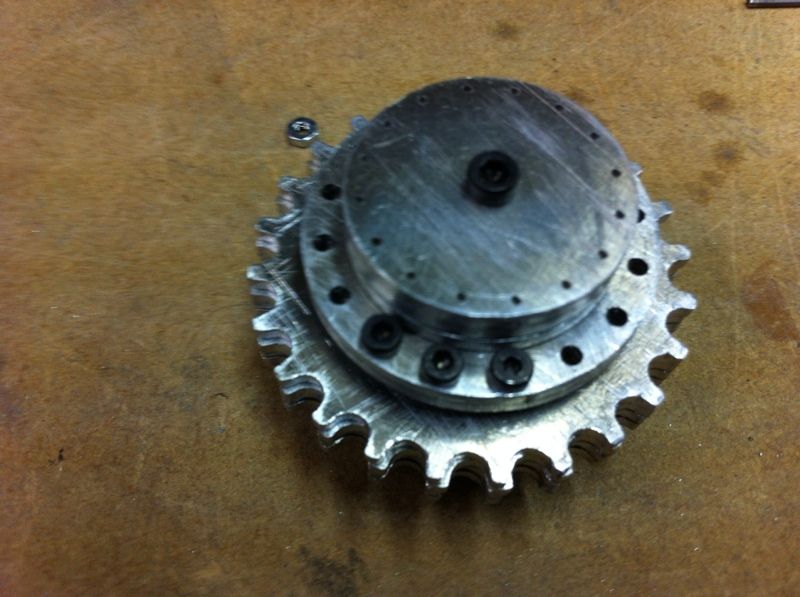
still 13 bolts to go
caterpilar
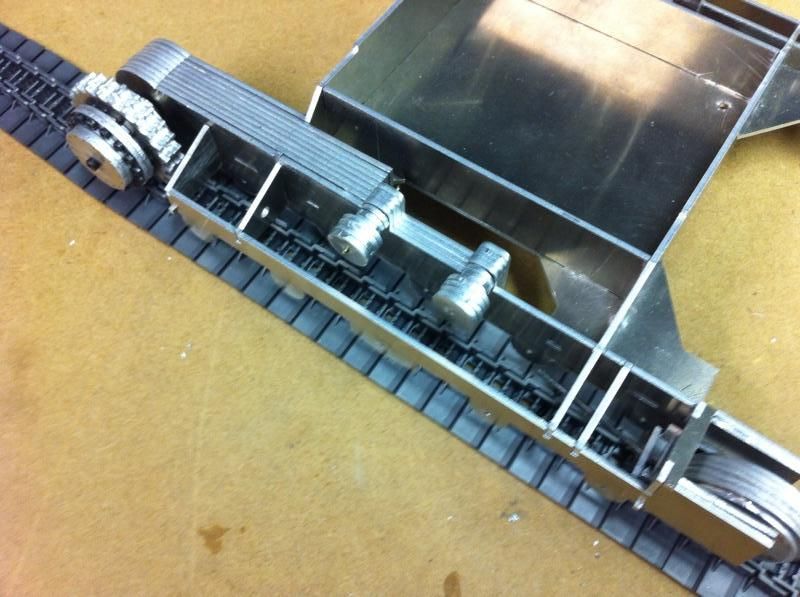
first (short) video of the undercarriage. Still work in progress but happy about the result so far.
http://www.youtube.com/watch?v=1WBFo-rpPOs
Currently using the bruder plastic tracks just as a test while waiting for the delivery of the final tracks.
caterpilar
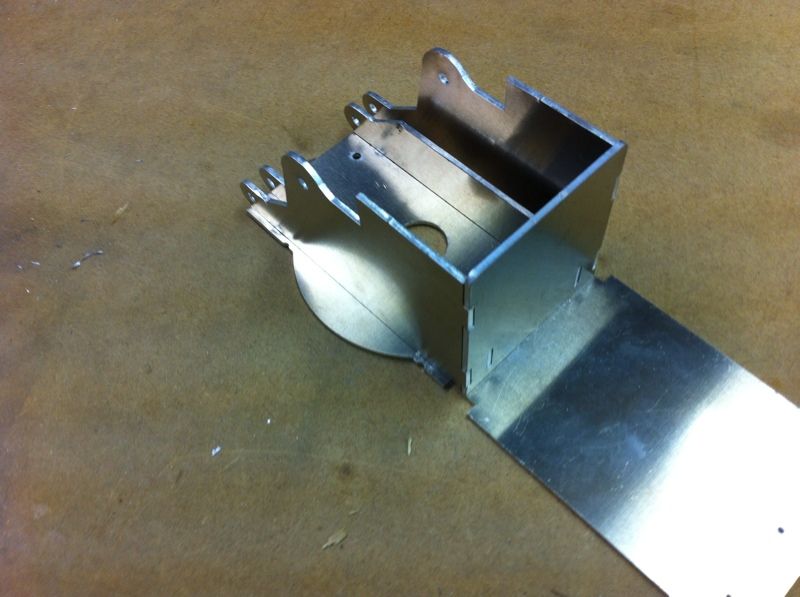
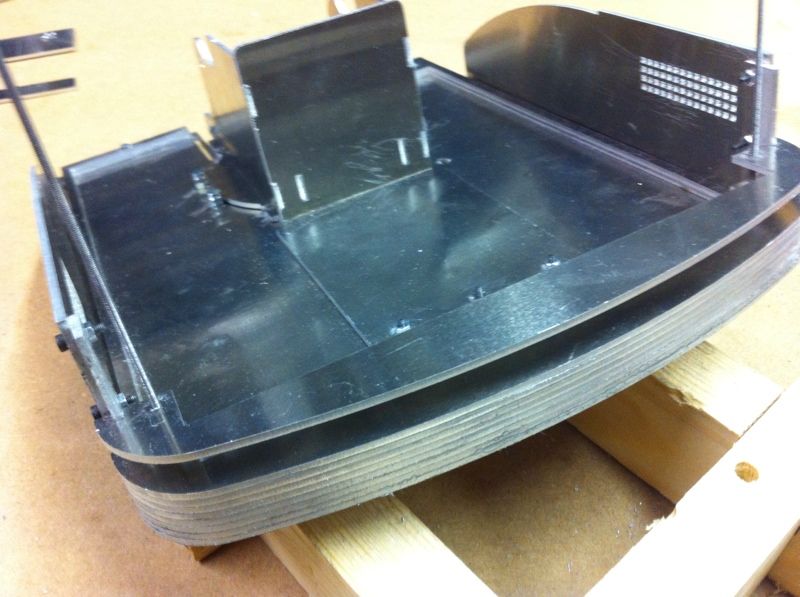
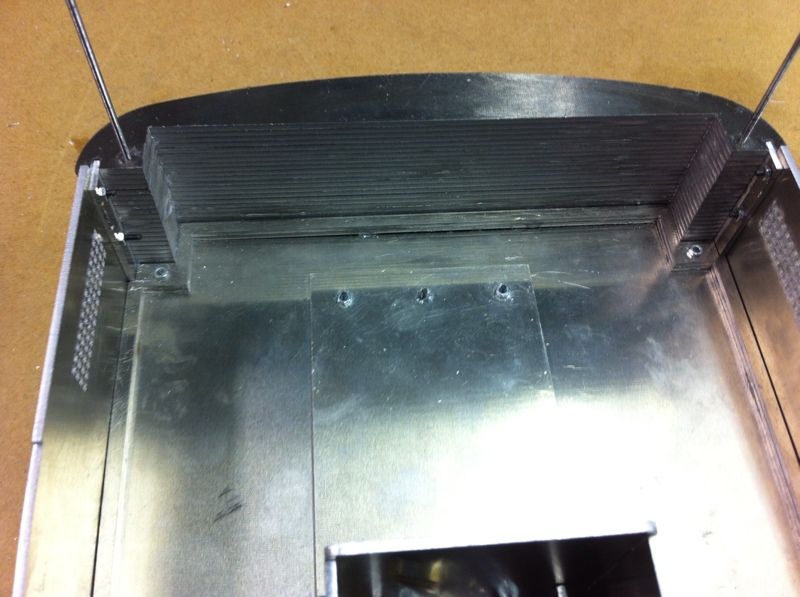
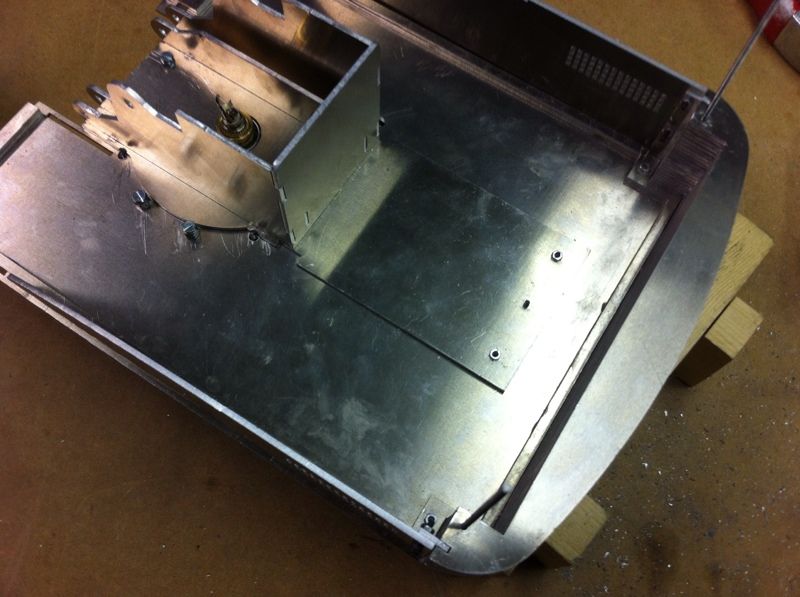
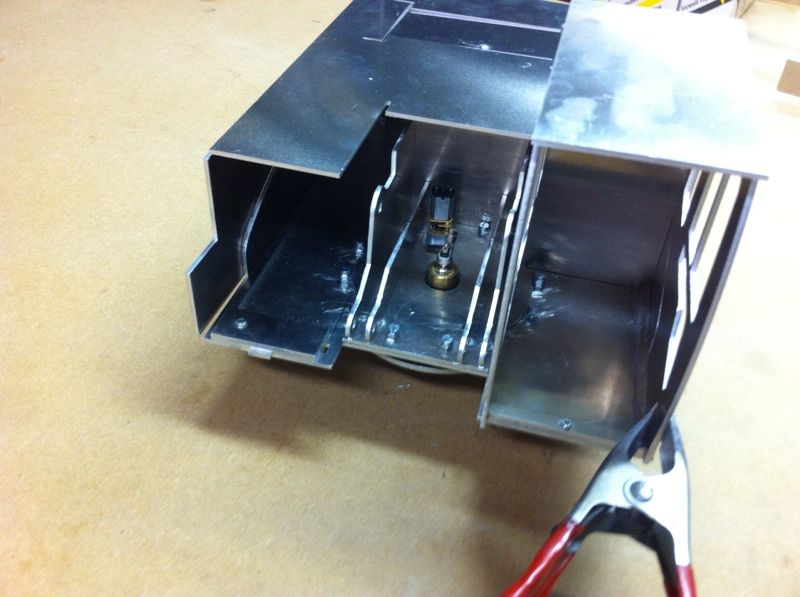
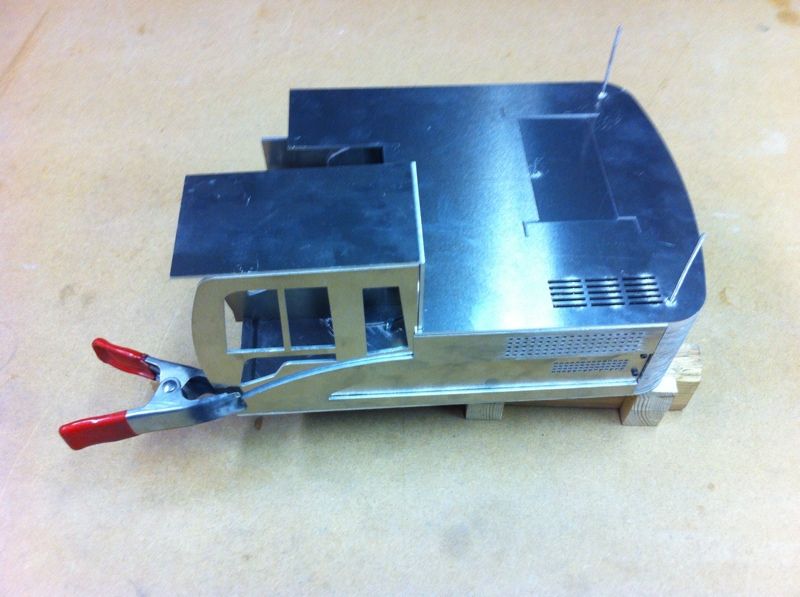
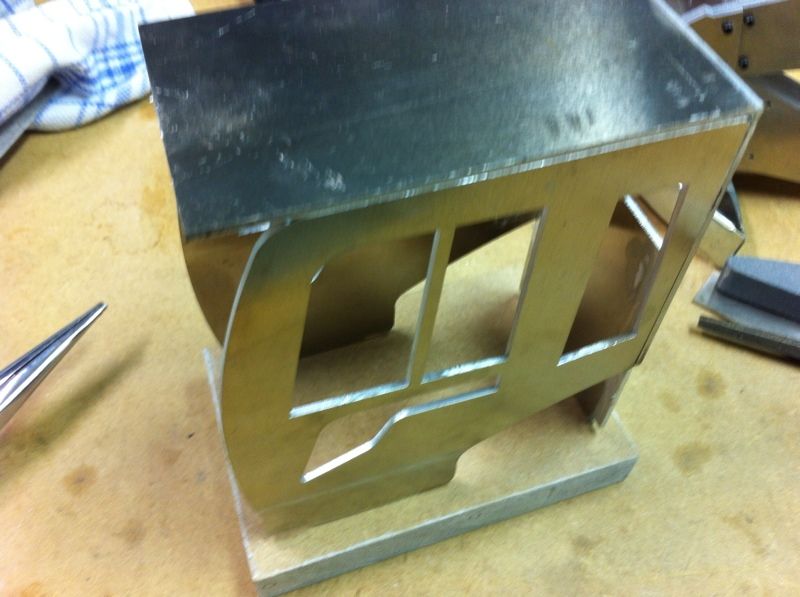
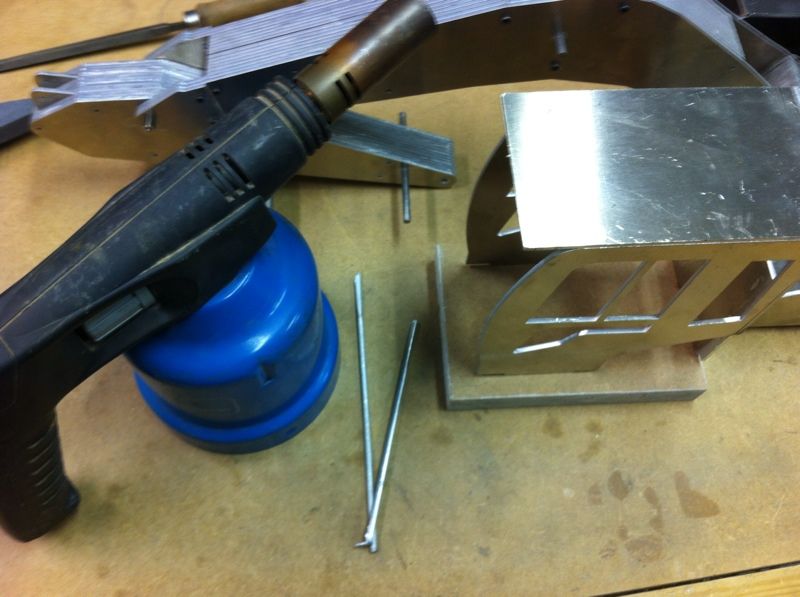
Today i did the brazing of the cabin with Alu flux rods. Here a few pics. Enjoy!
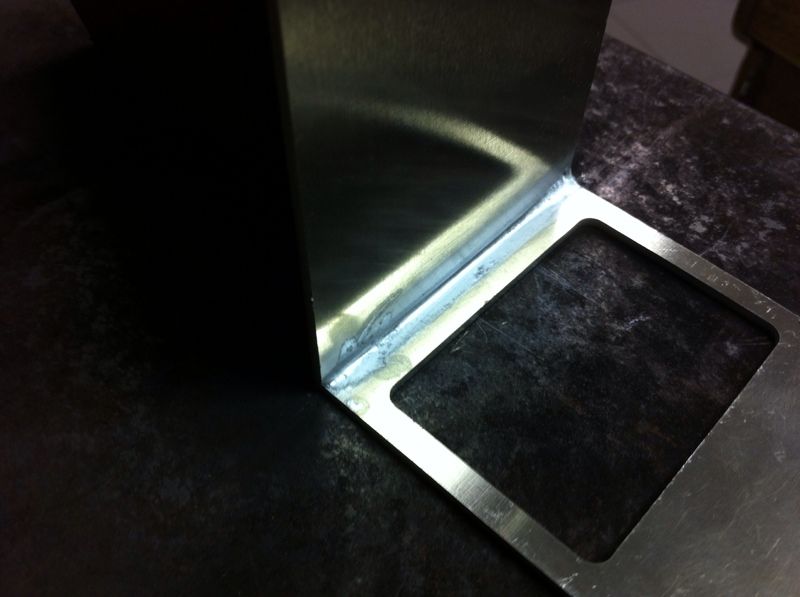
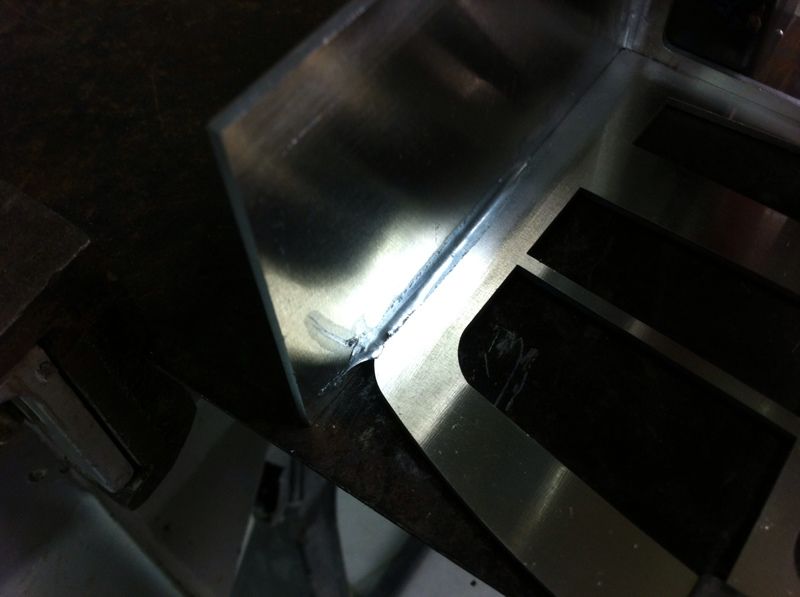
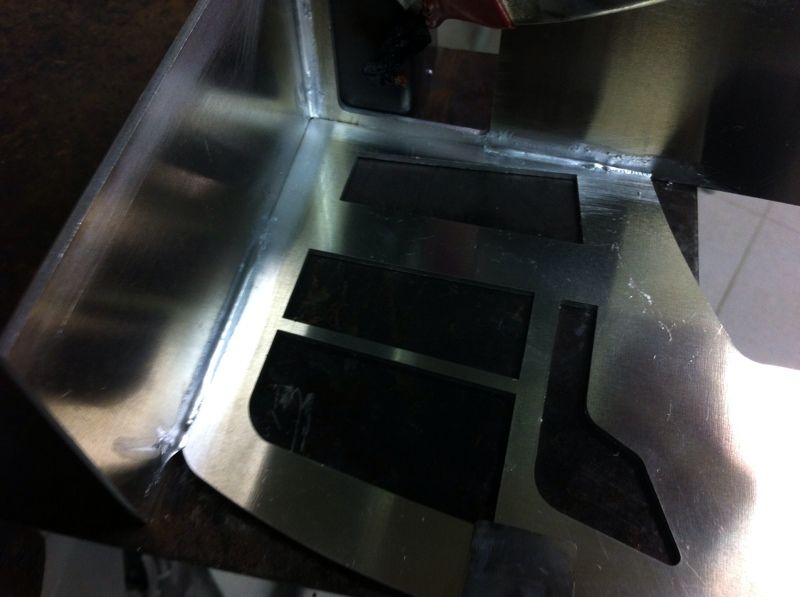
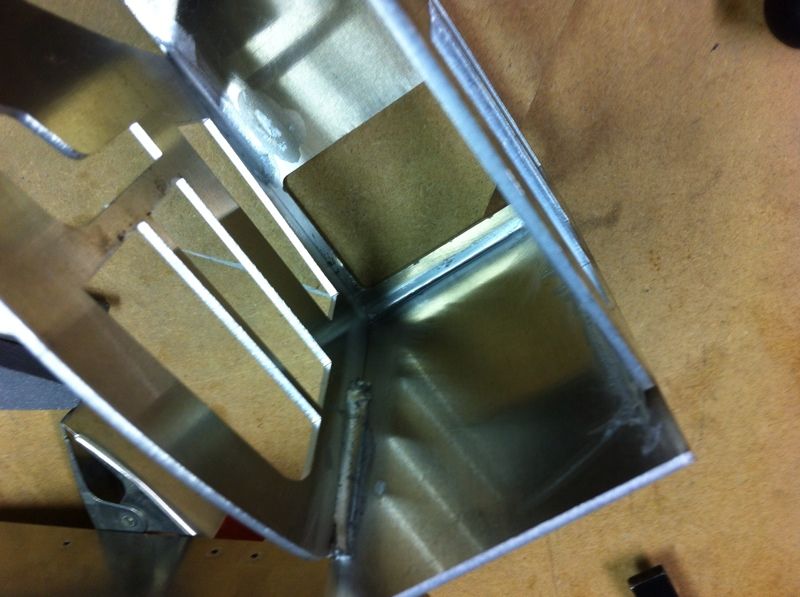
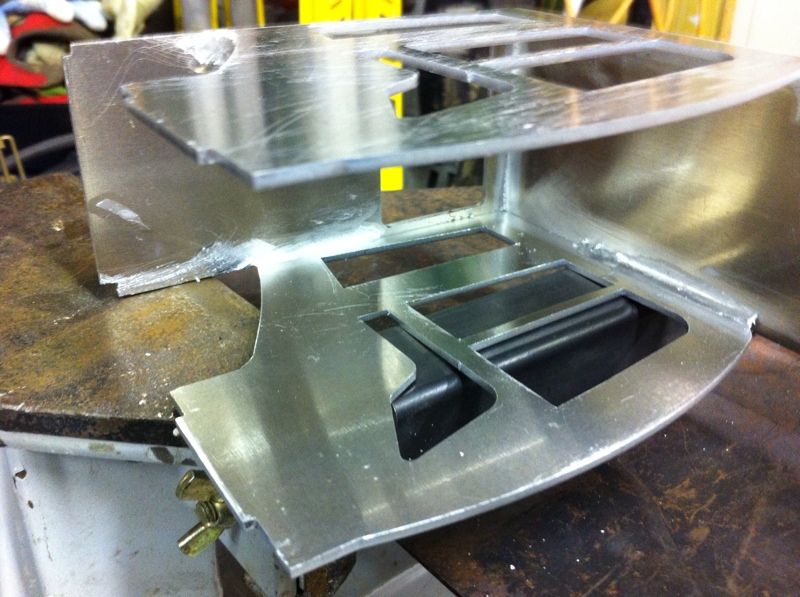
All brazing done with Easyweld de Durafix. It worked really well and the result is nice.
I am using a normal torch to heat up the aluminum.
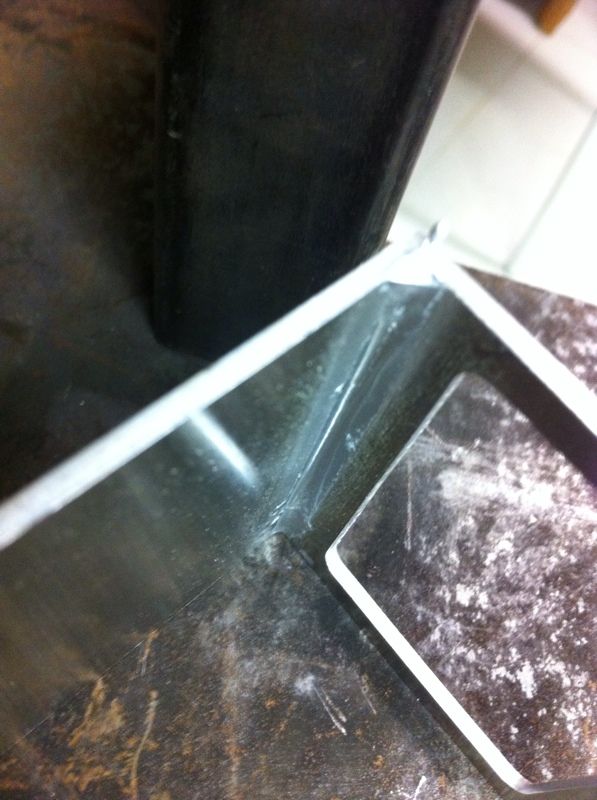
1. Very important is to clean the place which you want to de brazing on with the copper brush
2. heat up the aluminum till its hot (i mean really HOT)
3. only then come carefully in with the aluminum flux rods from easyweld. if you come in too early, they will melt and bulb up with an ugly result.
4. slightly rub with the flux rods on the hot aluminum and you will see it melts nice and evenly while you pull the rods over the hot surface.
Here a "walk through video of the cabin".
http://www.youtube.com/watch?v=toIhM_AYci4
Baggerkalle
Kenne ich Alu lötten haben wir auch mal gemacht , auf der Messe gekauft . Super Top . haben wir gedacht nach einem jahr sind die Teile auseinander Gefallen .

Gruß Kalle
caterpilar
mit Durafix fält es nicht auseinander
Schön grundig getestet